Connector Quick Start

Start Connector

Unpack the distribution and run the start script located in the installation bin directory.

LINUX

./connector

WINDOWS

./connector.bat

Login to Connector

Once the Connector has started, navigate to the Admin UI and login with the default username and password, admin/admin:
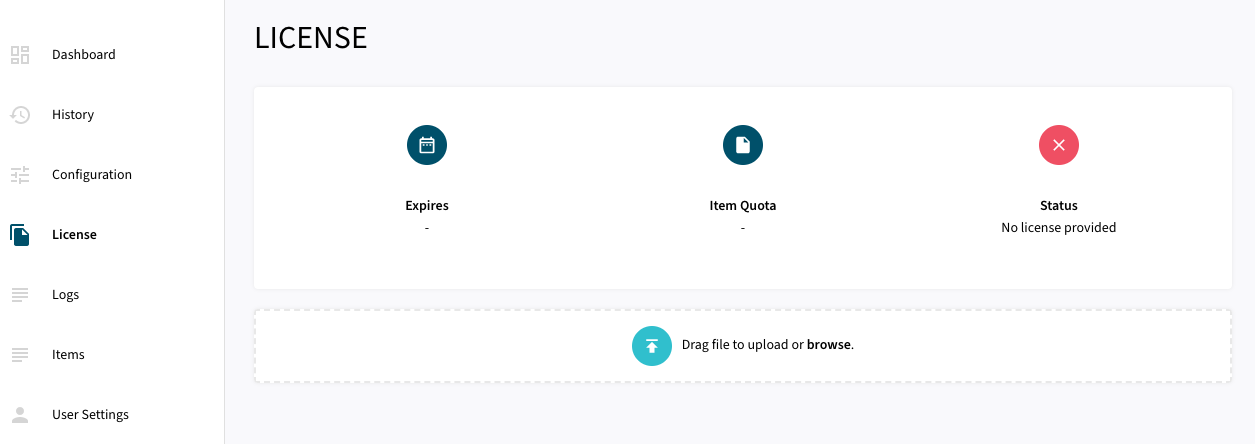
Configure Connector

Follow the description and instruction in the Basic Configuration Menu to configure the mandatory settings.

Microsoft Viva Engage Configuration

Configure the Developer Access Token created and retrieved from the step Microsoft Viva Engage Quick Start - App Registration.
Developer Access Token
Configure your Viva Engage domain.
Microsoft Viva Engage Domain

Microsoft Search Configuration

Configure the ID of your connection created in step Microsoft Search Quick Start - Configure External Connection.
ms search connection
Configure the Client ID, Secret and Tenant ID which can be retrieved from the app created in step Microsoft Search Quick Start - Configure Azure App.
ms search oauth2

Upload License

  • Contact Raytion and obtain a license for your connector

  • Login to the Admin UI

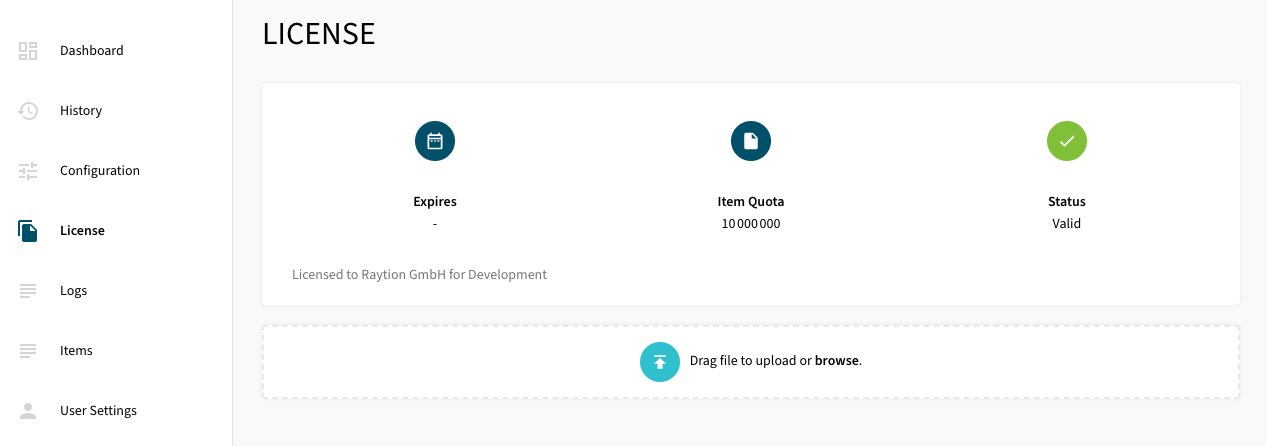
  • Select License in the menu:

uploadlicense 1
  • Upload the license file by browsing for the file or simply dragging a dropping the license onto the license page

  • The Status of the license will be displayed as valid, and the expiration and item quota will also be displayed:
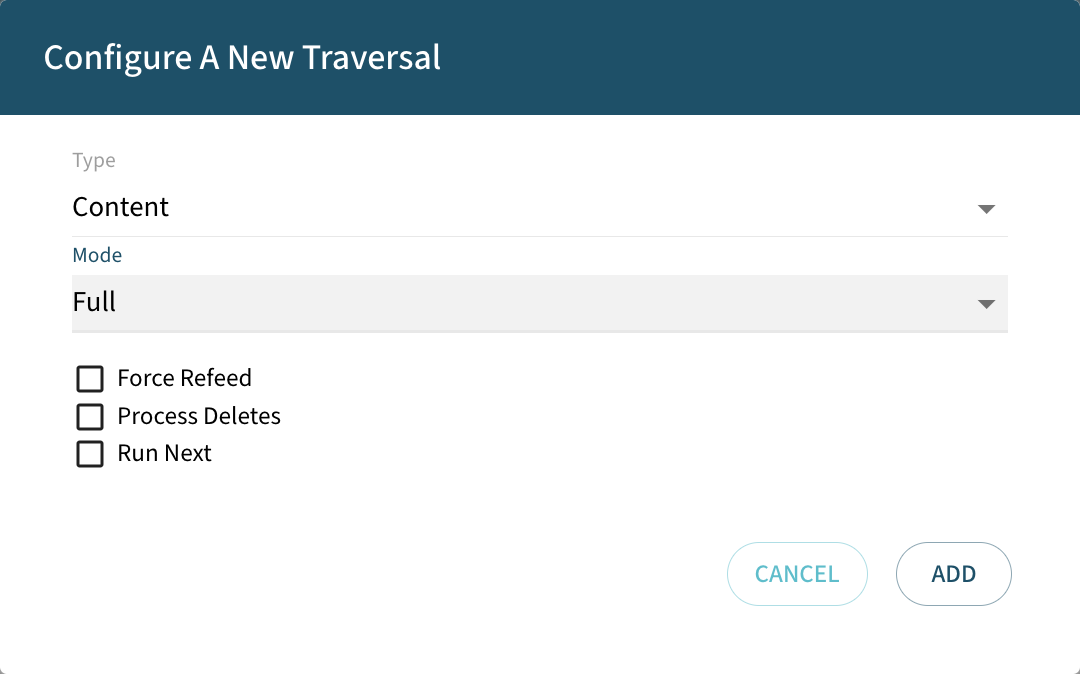
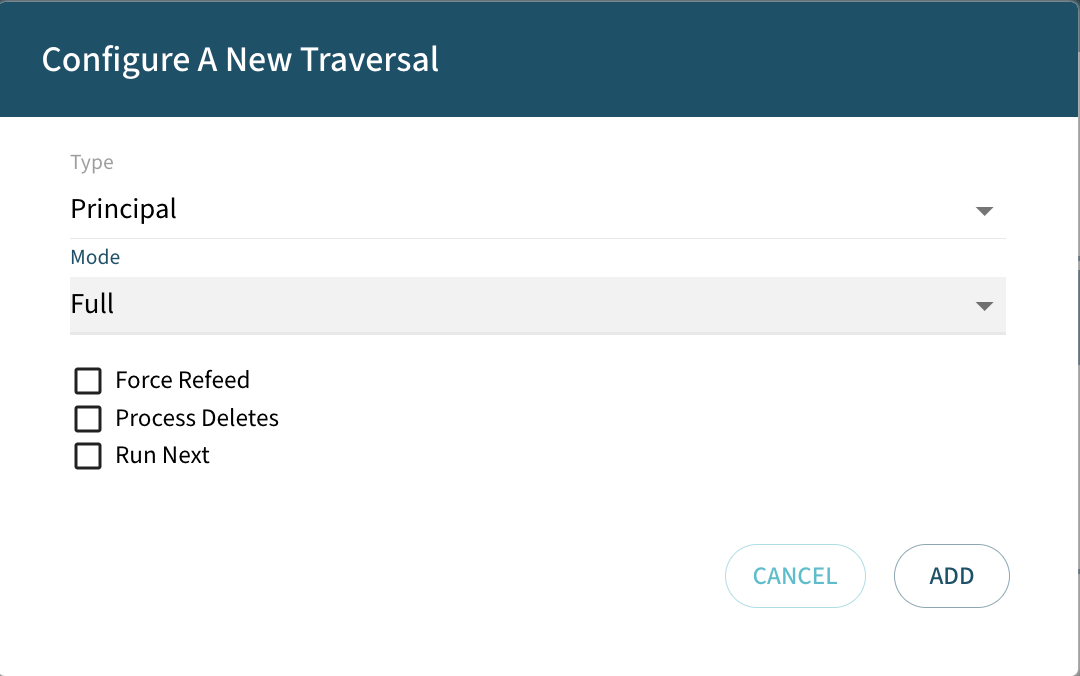
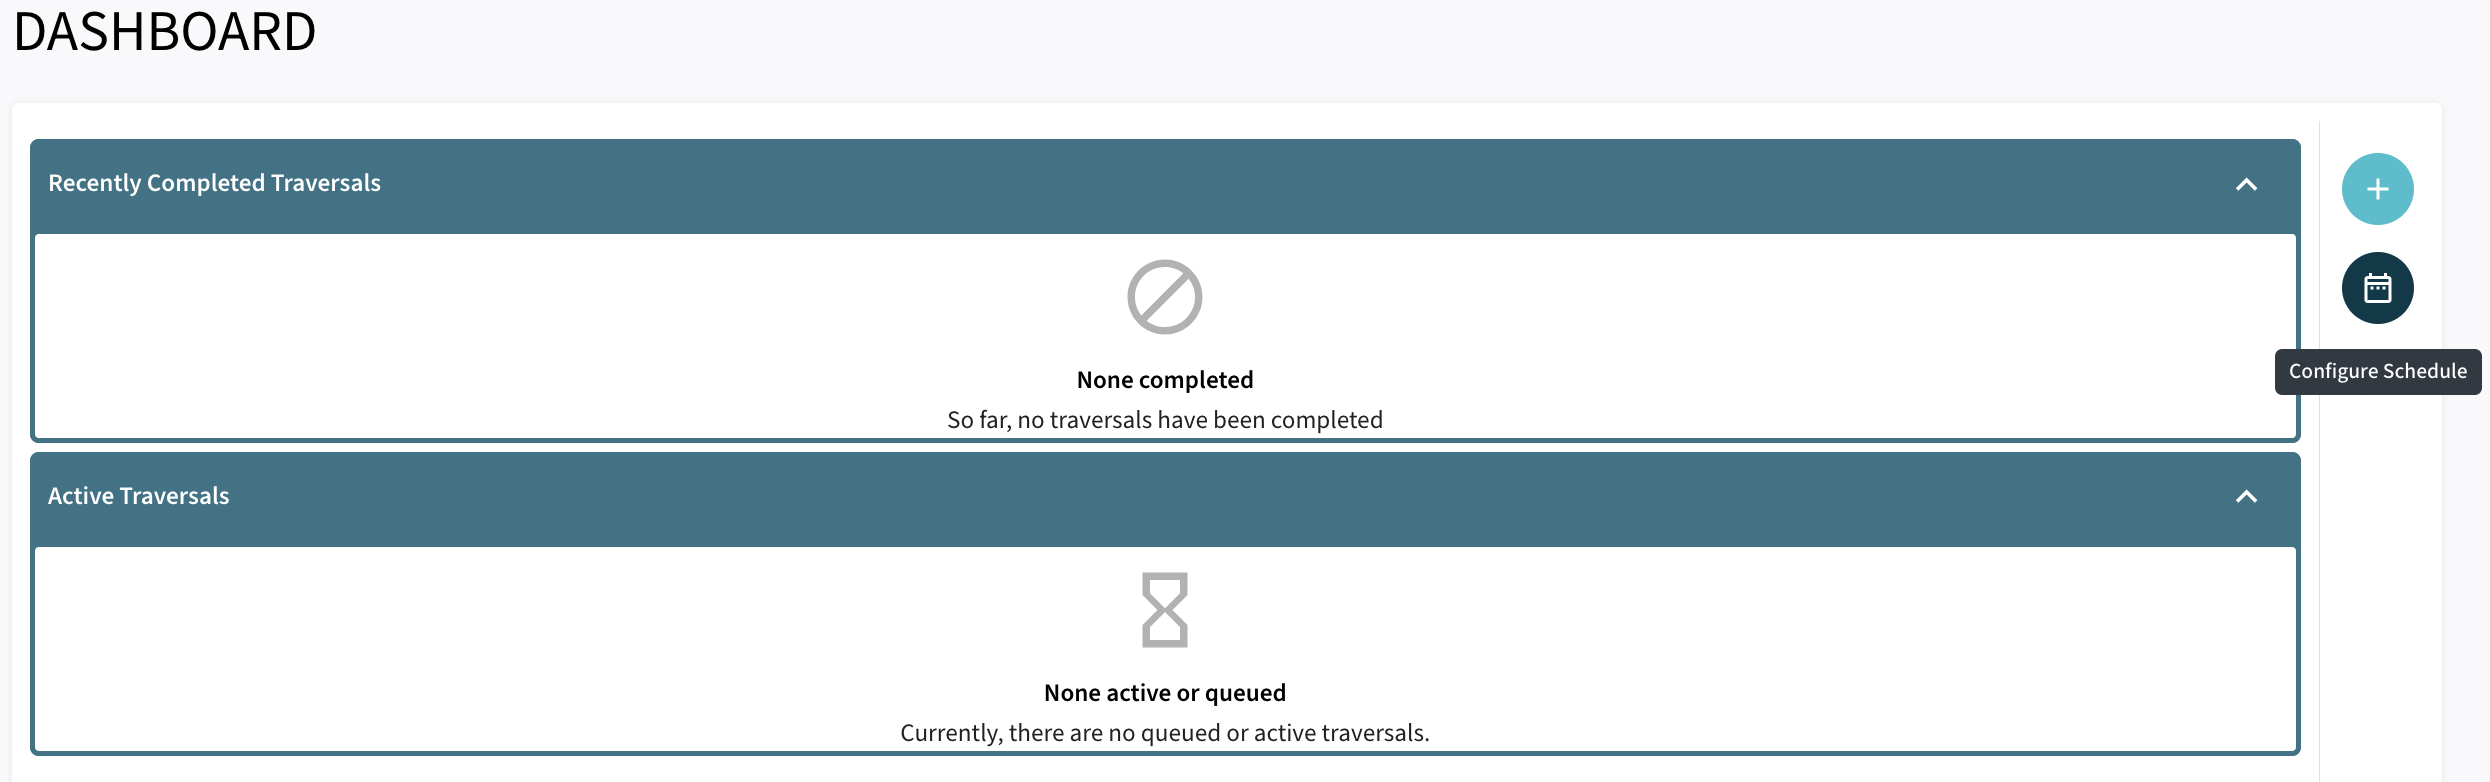
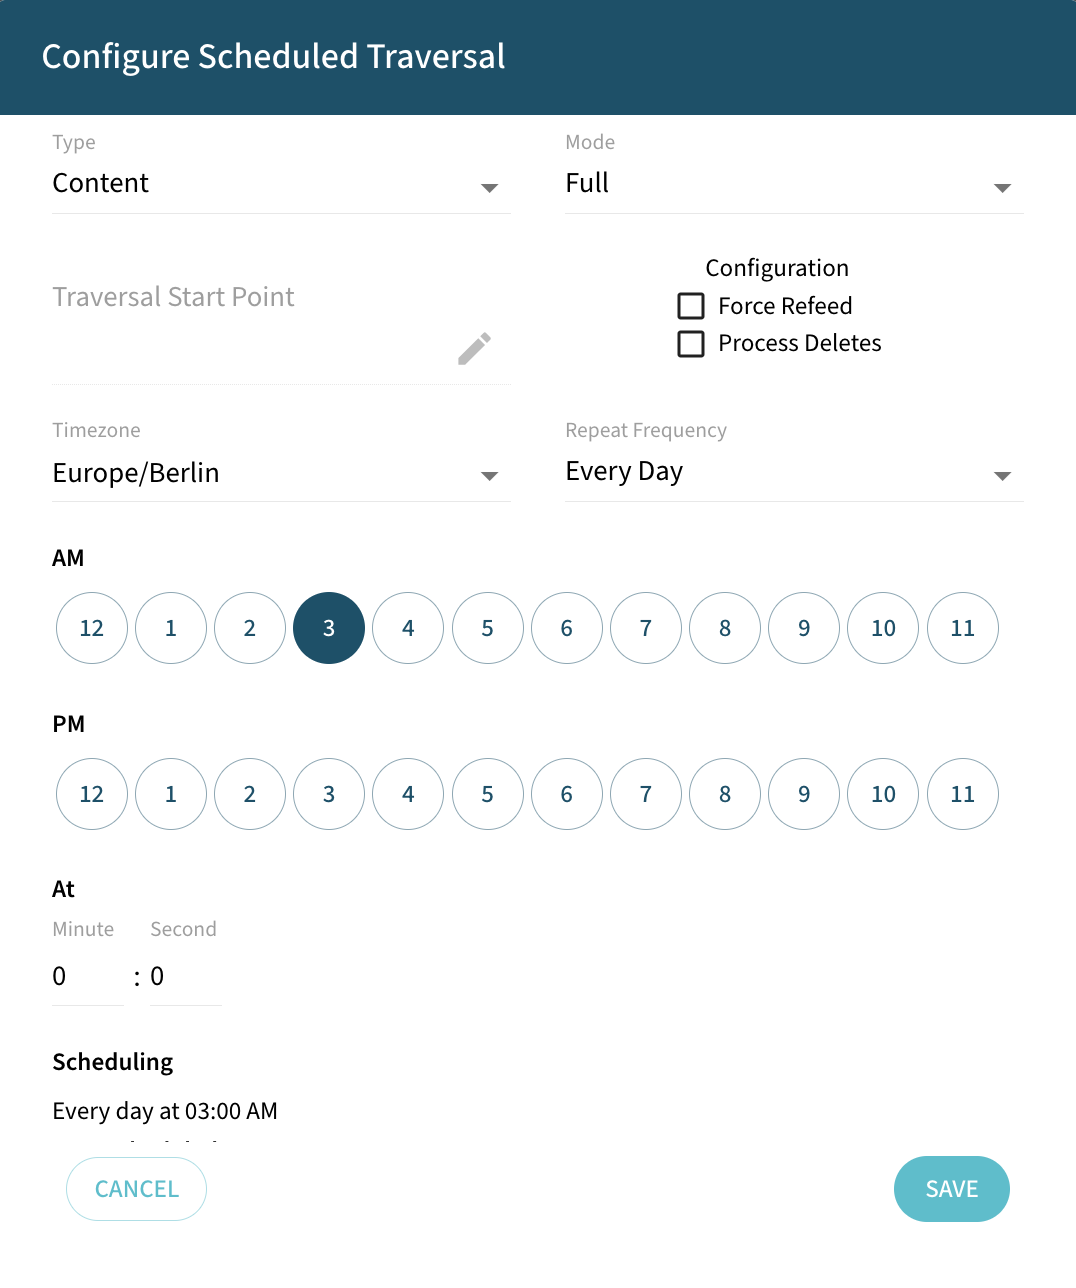
uploadlicense 2

Synchronizing Data

Once the connector is configured and the license uploaded, you can start synchronizing data using the traversal feature in the dashboard.

dashboard start traversal without cp

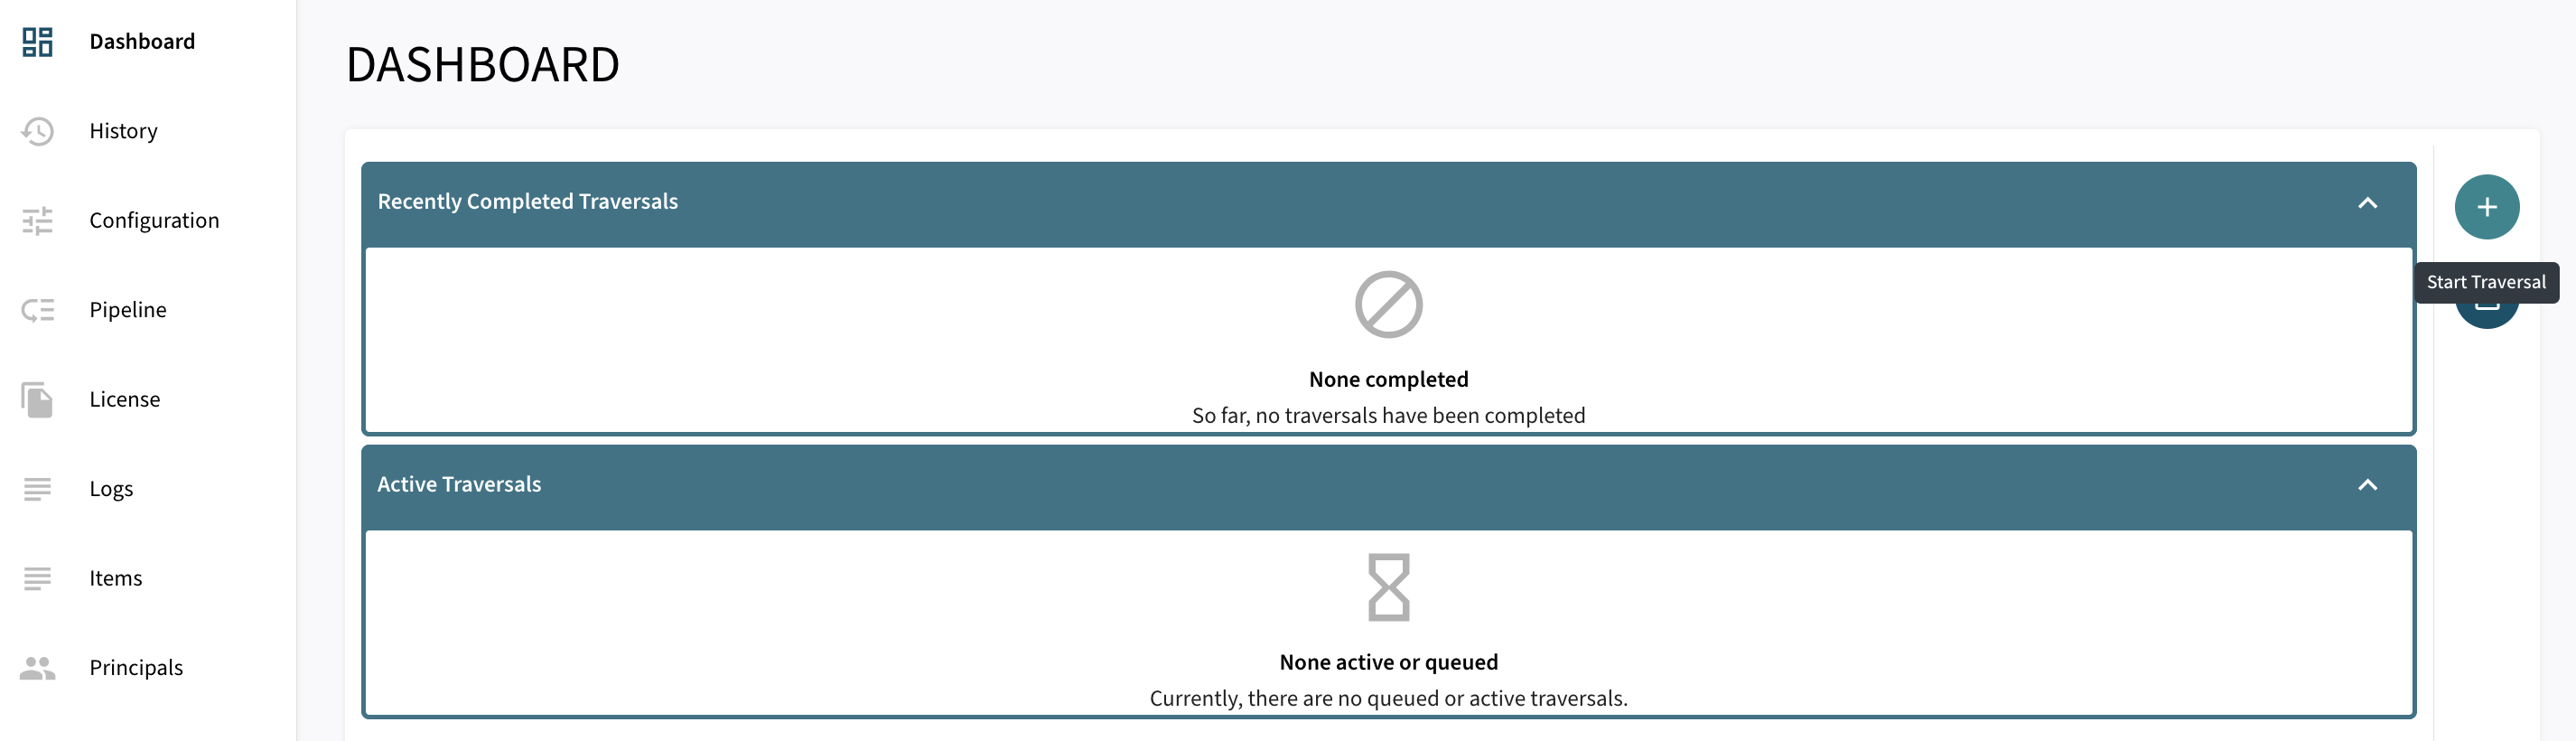
There are 3 options for Synchronizing:

  • Force Refeed Toggles if previously discovered traversal items that haven’t changed should be fed to the search engine.

  • Process Deletes Toggles if deletions should be fed to the search engine.

  • Run Next The traversal will be prioritized over other traversals without this flag in the queue.

Content Traversal

  • Full

dashboard content traversal without partial

Principal Traversal

dashboard principal traversal

Schedule Traversal

Scheduled traversals can also be configured through the menu.

From this button a Schedule can be configured.
schedule button
Click on NEW SCHEDULED TRAVERSAL.
scheduling
Configure the Traversal that will be executed and click Save.
schedule configuration