Atlassian Confluence Configuration
Setup Confluence Plugin
Plugin Installation
To manually install the Confluence Plugin on the Confluence instance, the following steps have to be executed:
-
Login to the Admin Console
-
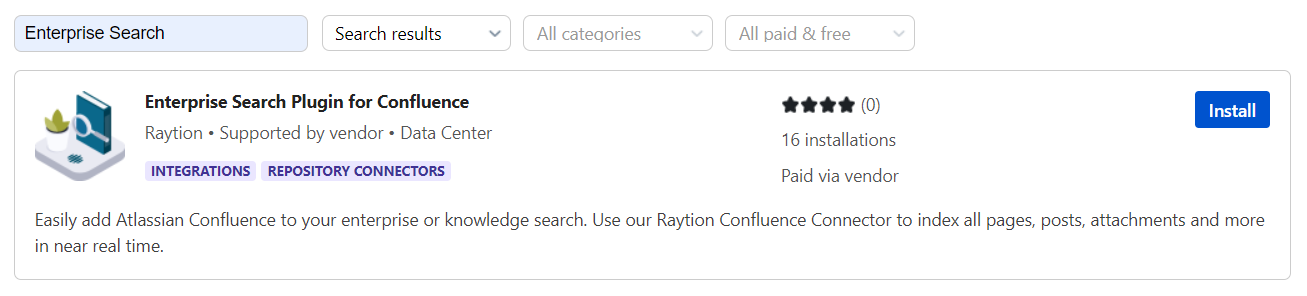
In the Atlassian Marketplace find the Enterprise Search Plugin for Confluence:
-
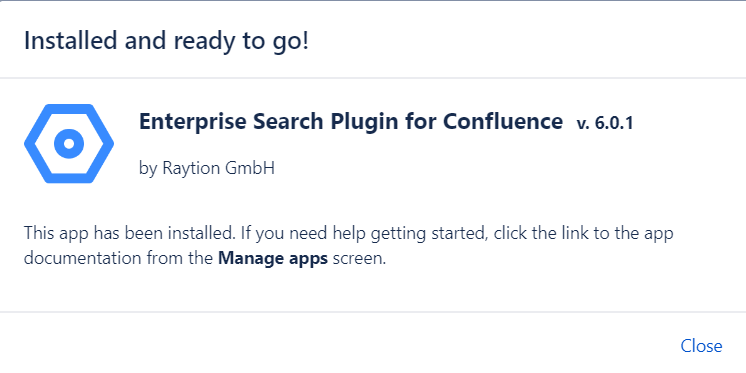
Select Install, make yourself familiar with the terms and Accept them:

-
The plugin is installed successfully:
Plugin Update
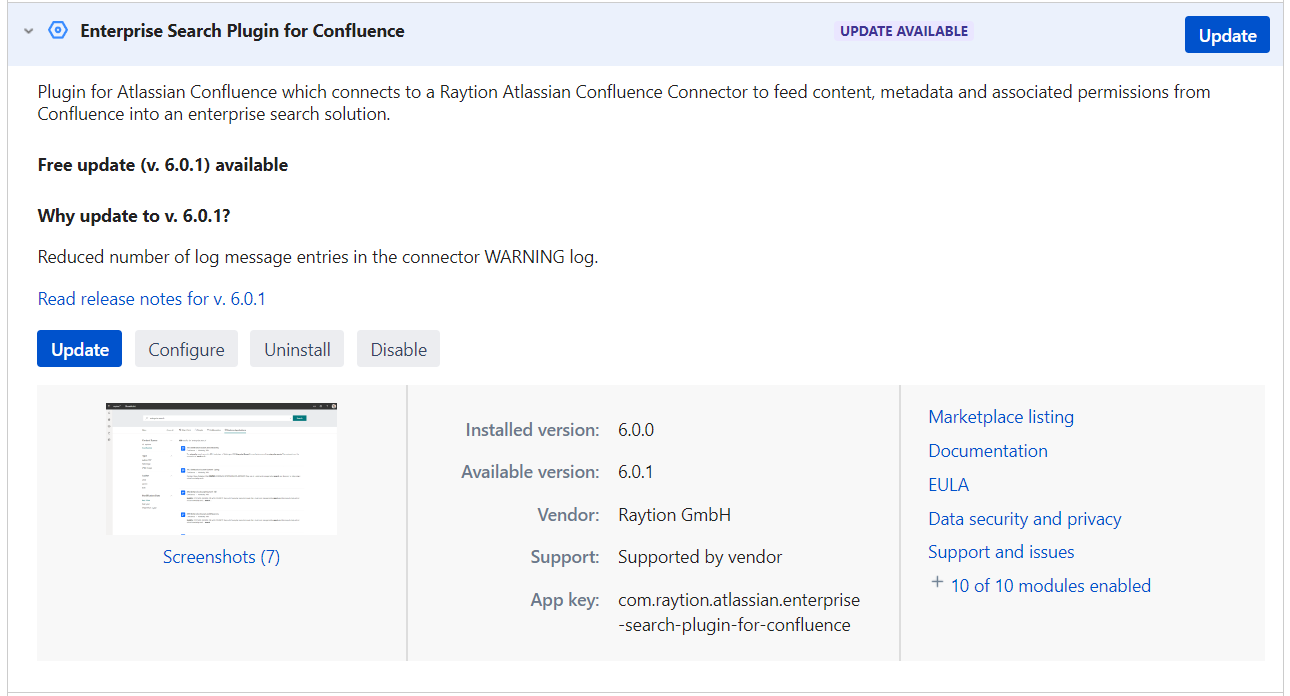
If the Enterprise Search Plugin for Confluence is already installed, make sure to update it to the latest version:
-
Login to the Admin Console
-
In the Atlassian Marketplace go to Manage apps
-
Select Update for the Enterprise Search Plugin for Confluence
Plugin Configuration
The plugin must be configured after it has been uploaded. The configuration is persistent and does not need to be re-entered if the instance is shut down or restarted. If you upgrade the plugin to a new version, the existing configuration will be retained.
To enter the configuration screen for the plugin, open the plugin manager view and select the plugin:

Click on the Configure button to open the configuration screen.
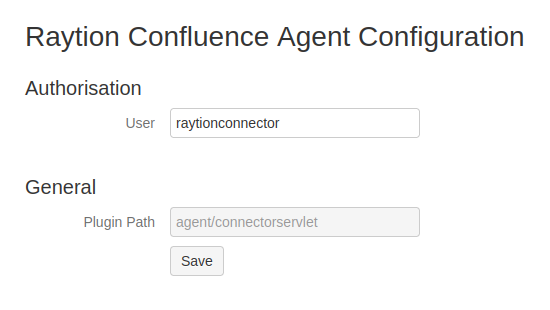
The configuration screen has fields for all editable configuration elements:
To secure the connection, the connector and the Confluence plugin use HTTPS for their communication. Additionally, the plugin can be accessed by an authorized user only which has to be configured in the plugin.
Configuration elements
The plugin contains the following configuration elements:
-
Authorisation: User: Confluence user which the connector uses to communicate with the plugin. We strongly recommend to use HTTPS communication in productive environments.
-
General: Plugin Path: Non-editable information about the servlet path under which the plugin can be accessed.
Setup Personal Access Token (PAT)
Using a personal access token (PAT) for authentication requires Confluence 7.9 or higher.
The initial personal access token that is created here is used by the connector exactly once, to acquire and manage its own PAT.
The following steps are required to create an initial PAT:
-
Login to Confluence with the crawl user (the same one that is configured in the Confluence plugin).
-
Go to account settings:

-
Select "Personal Access Tokens" in the left bar.

-
Click on the "Create token" button on the right.

-
Choose a "Token Name" and click the "Create" button.
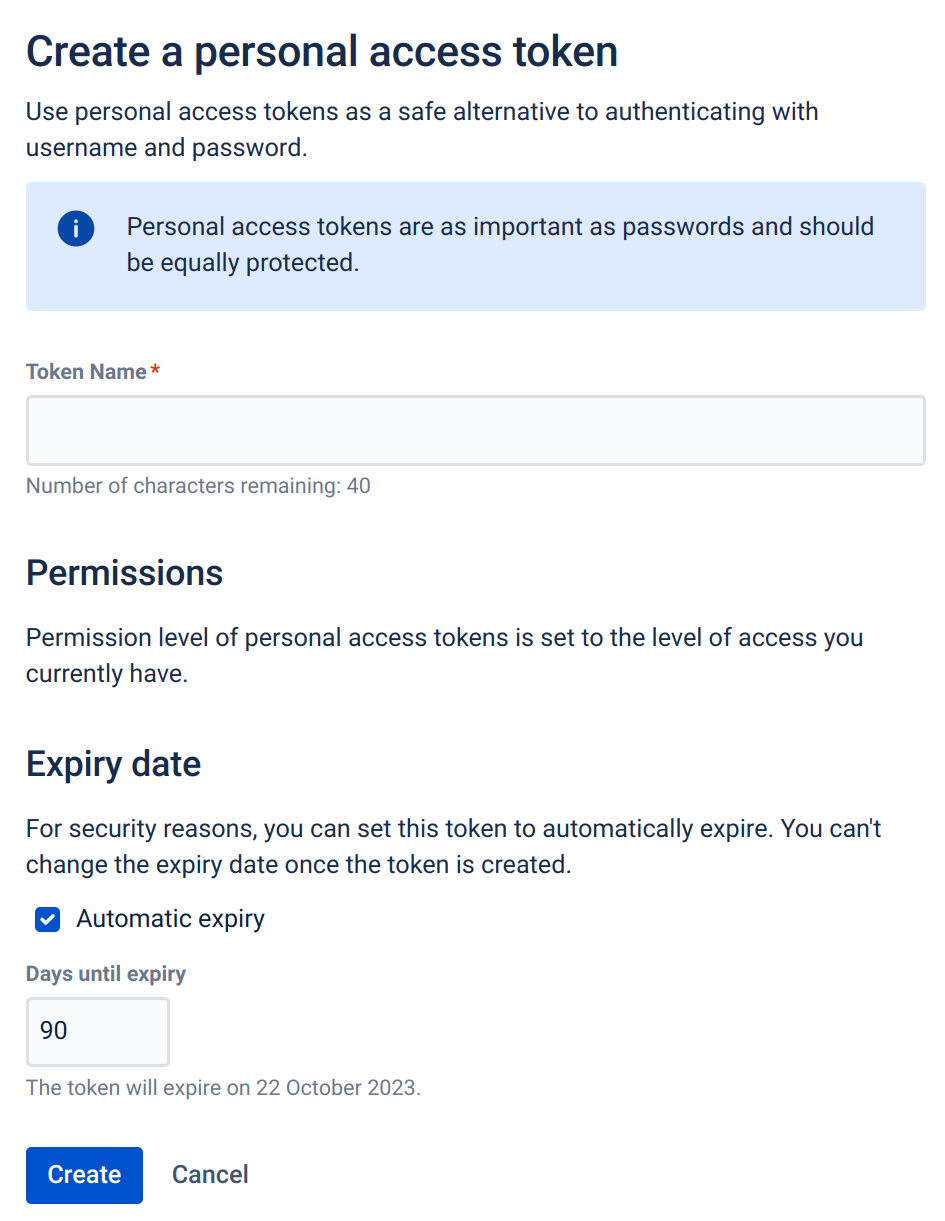
-
Copy the password - this is the only time it is ever shown. If the password is lost, the PAT must be revoked and recreated.
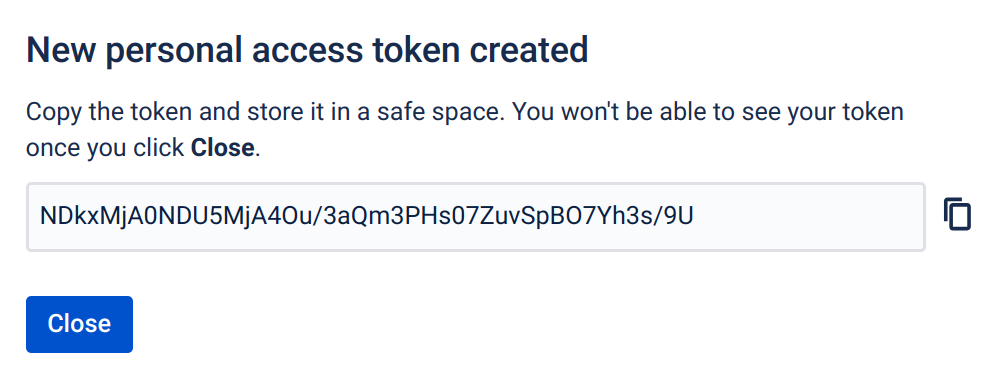
-
The connector uses the token exactly once to create a token with the settings from the connector. As soon as the connector-owned PAT shows up in the list of PATs, the initial PAT can be safely revoked.