Microsoft Search Configuration
Configure Azure App
Register App
Go to Microsoft Azure Portal and navigate to App registrations.
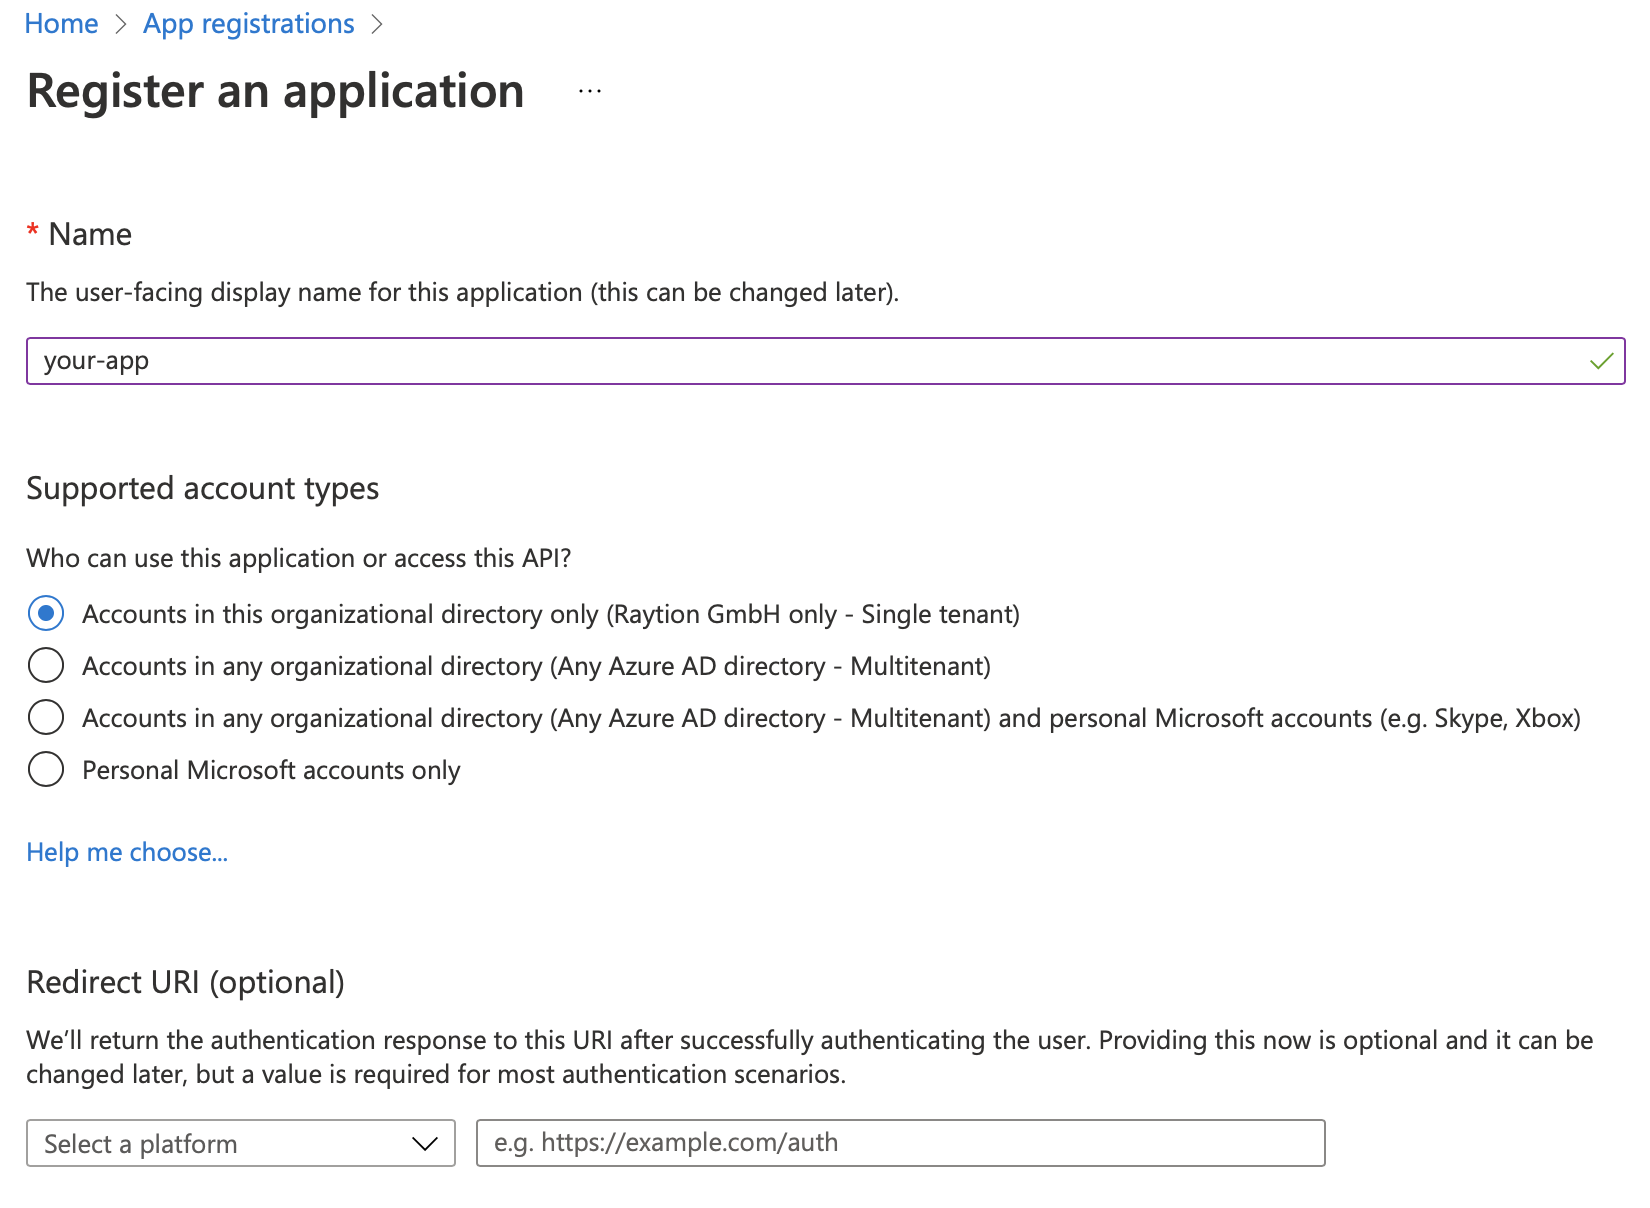
Register a new app with the option New registration.


Type the name and select the option Accounts in this organizational directory only and submit the registration with register.
Omit the Redirect URI for your app.
Create Client Secret
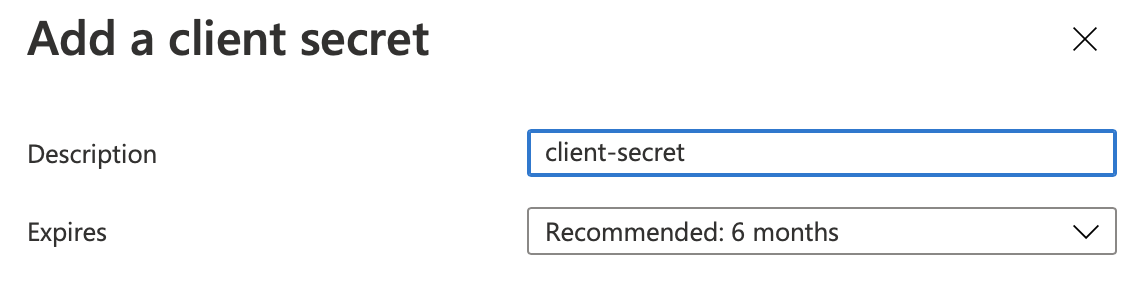
Add Client Secret under Certificates & secrets → Client secrets.

Submit your new client secret with the option New client secret.
Create Certificate
If you prefer to authenticate with a certificate instead of a secret, first receive a certificate.
For example, create a self-signed certificate keystore using the Java keytool with the following command adapted to your needs:
Linux:
$JAVA_HOME/bin/keytool -genkey -keyalg RSA -keysize 2048 -dname
"CN=servername,CN=company,CN=com,O=Company,L=City,C=XY" -validity 7305 -alias
selfsignedFQDNcert -ext san=dns:servername -keypass changeit -keystore
mykeystore.jks -storepass changeit
Windows:
"%JAVA_HOME%\bin\keytool" -genkey -keyalg RSA -keysize 2048 -dname
"CN=servername,CN=company,CN=com,O=Company,L=City,C=XY" -validity 7305 -alias
selfsignedFQDNcert -ext san=dns:servername -keypass changeit -keystore
mykeystore.jks -storepass changeit
Export the public certificate to upload in the Azure portal:
Linux:
$JAVA_HOME/bin/keytool -export -alias selfsignedFQDNcert -keystore
mykeystore.jks -rfc -file publickey.cert
Windows:
"%JAVA_HOME%\bin\keytool" -export -alias selfsignedFQDNcert -keystore
mykeystore.jks -rfc -file publickey.cert
You may extract the private certificate to use it instead of the keystore:
Linux:
$JAVA_HOME/bin/keytool -importkeystore -srckeystore mykeystore.jks
-destkeystore keystore_export.p12 -deststoretype PKCS12 -srcalias
selfsignedFQDNcert -deststorepass changeit -destkeypass changeit
Windows:
"%JAVA_HOME%\bin\keytool" -importkeystore -srckeystore mykeystore.jks
-destkeystore keystore_export.p12 -deststoretype PKCS12 -srcalias
selfsignedFQDNcert -deststorepass changeit -destkeypass changeit
Define API Permissions
The connector requires access to the Microsoft Search External Connection/Item API for synchronizing external content items and to Users/Groups API for synchronizing principal information.
To assign the required permission to your app, navigate to API permissions inside your app menu.
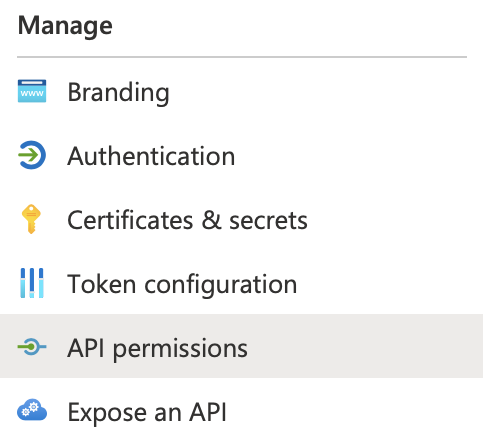
With the option Add a permission, you can assign new permissions to your app.

Register all permissions as Microsoft Graph API Application permission.
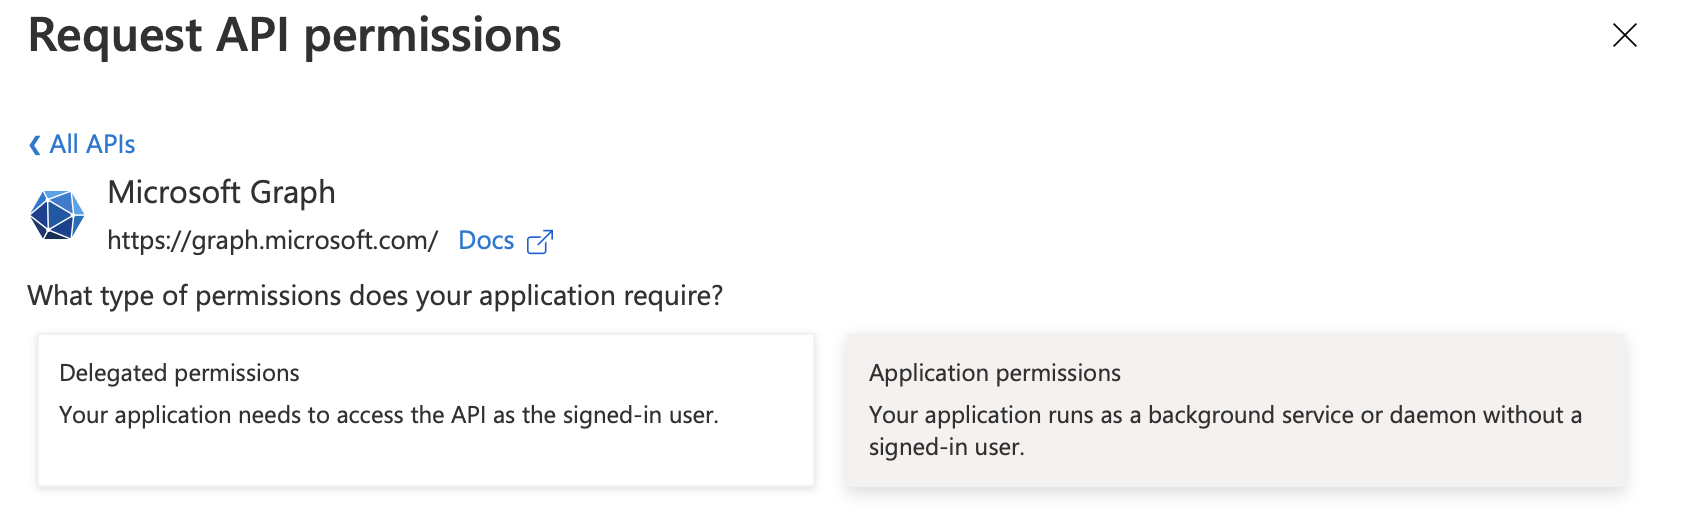
| Ensure you grant the connector Application Permissions, not Delegated Permissions. It will not work with delegated permissions. |
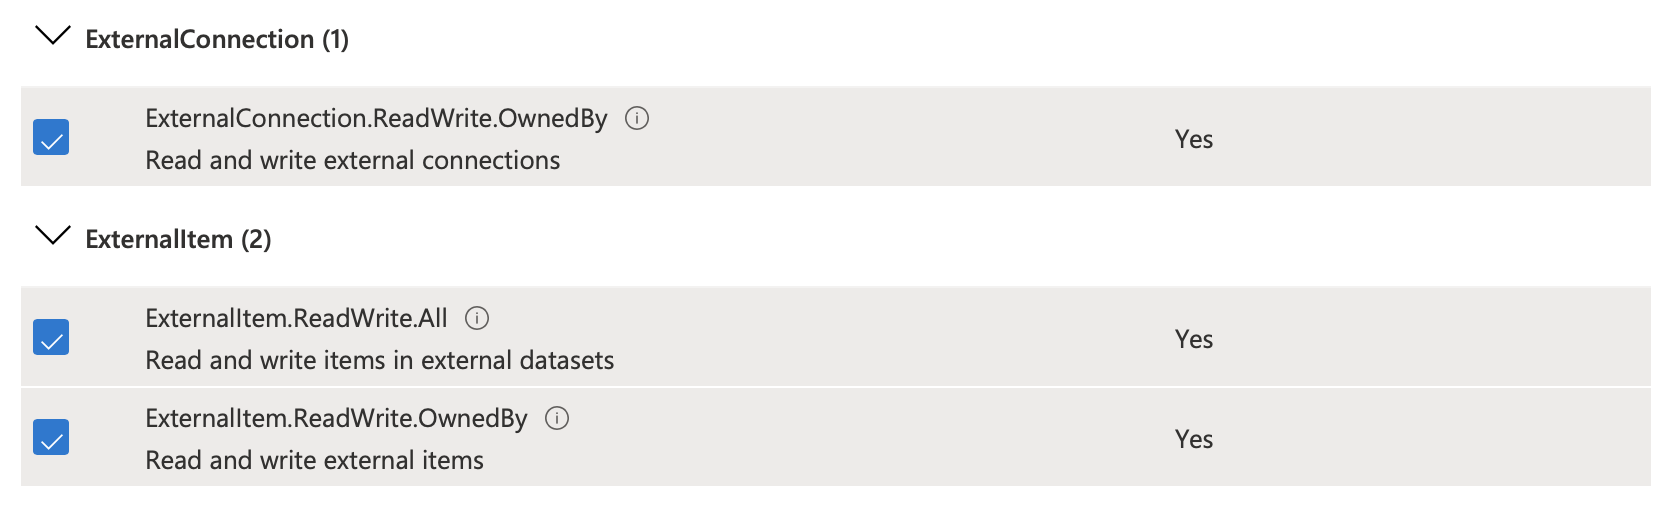
Add External Connection/Item Permissions
To access the Microsoft Search API, following permissions are required by the app:
-
ExternalConnection.ReadWrite.OwnedBy -
ExternalItem.ReadWrite.All -
ExternalItem.ReadWrite.OwnedBy
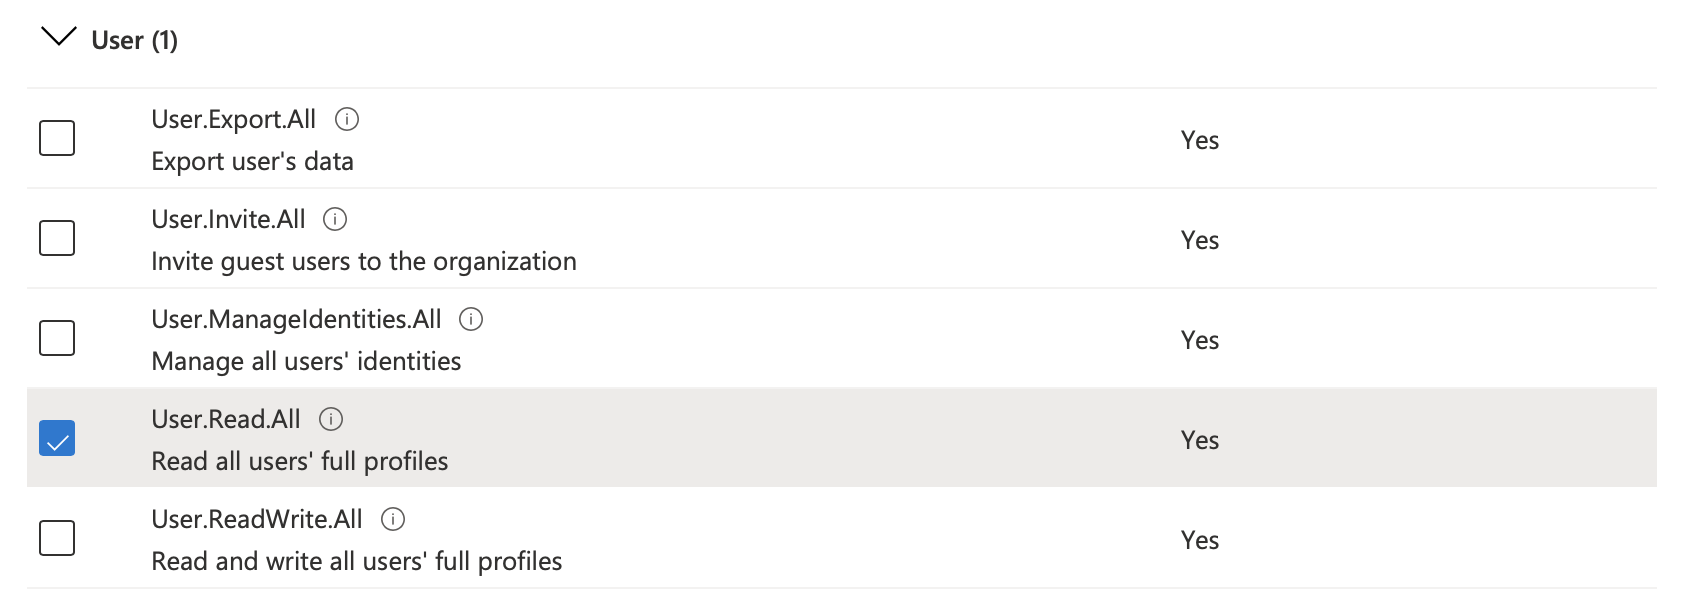
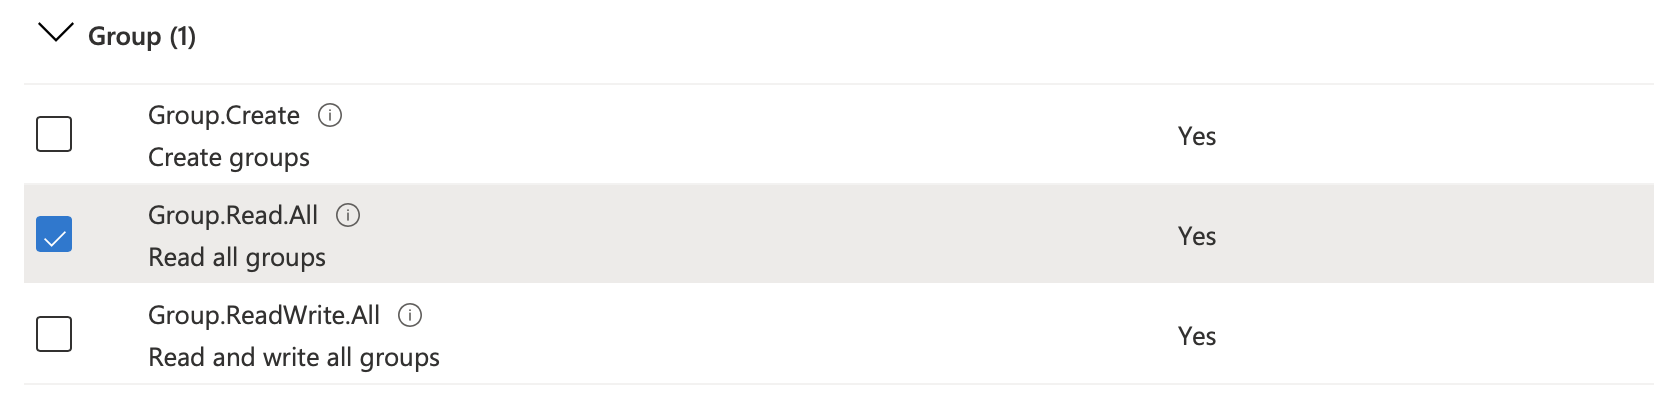
Add Users and Groups Permissions
To access user and group information for your tenant, the app requires following permissions:
-
Group.Read.All -
User.Read.All
| Make sure to grant admin consent for all permissions. |
Configure External Connection
The item metadata that the connector sends to Microsoft Search is defined by a schema, this schema is generated within Microsoft Search and defines the fields used by Microsoft Search. Therefore, the schema must be generated before a connector can run a traversal to ingest documents. This section describes the steps required to create a default schema within Microsoft Search, the request to generate the schema can be modified as required prior to creating the schema. There are 3 steps to setup Microsoft Search prior to using the connector to ingest documents:
-
Authenticate against Microsoft Search
-
Create a Connection ID within Microsoft Search
-
Generate a schema within the Connection ID
These steps are performed via the Microsoft Search API, the following guide provides a Postman Workspace for calling the Microsoft Search API endpoints:
The Connection ID can only contain ASCII alphanumeric characters, and must be between 3 and 32 characters long. e.g. 2ecbffec1da74fab8057b4530d3c442a.
Create new Connection
Headers
Content-Type:application/json
Authentication:Access Token
Request Body
{
    "name": "<display name>",
    "description": "<description about source system content>",
    "id": "<unique identifier in the Microsoft Search tenant>"
}-
name: The name is visible in the search user interface and should be a displayable and familiar name for the users. -
description: The description should contain information about the source system content. This information affects the relevancy. -
id: The id is a unique identifier for the connection within the tenant. It is also used in the admin interface to distinguish multiple connections. Important: use only characters and numbers in the id. Everything else can lead to unexpected behavior/issues.
As an example, for a given filesystem with the internal name "Document Store" the connection could be created like this:
{
    "name": "Document Store",
    "description": "Filesystem with contracts, proposals and other
        sales related documents. The content in this connection
        can also be referred to as file system, remote file system,
        document store.",
    "id": "filesystemprod1"
}
Upload Schema
Authentication:Access Token
Headers
-
Content-Type:application/json
-
prefer:respond-async
Request Body:
The Microsoft Search schema in JSON format. The schema defines the structure and fields of the data that will be indexed by the search engine. The default schema provided by the connector can be found in the schema directory. By modifying this schema, you can customize the search experience and ensure accurate indexing of your data.