Slack
Quick Start
Slack Workspace and OAuth Token
Login to Your Slack Workspace
Note: If you are already logged in you can skip this step.
-
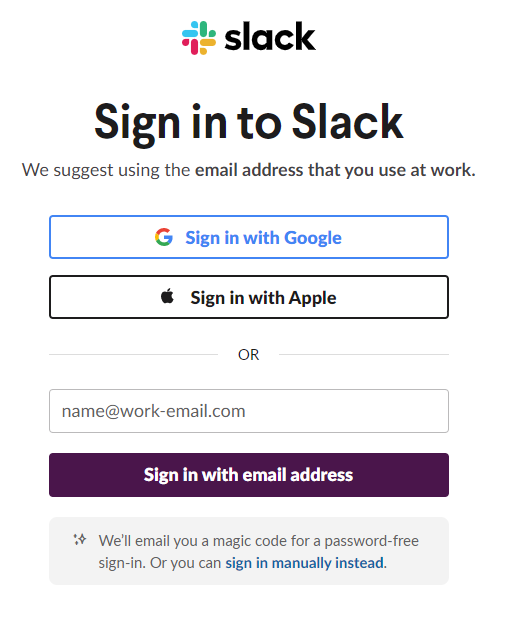
Go to https://api.slack.com/apps and click on "Go to Slack"

-
Enter your admin email address
-
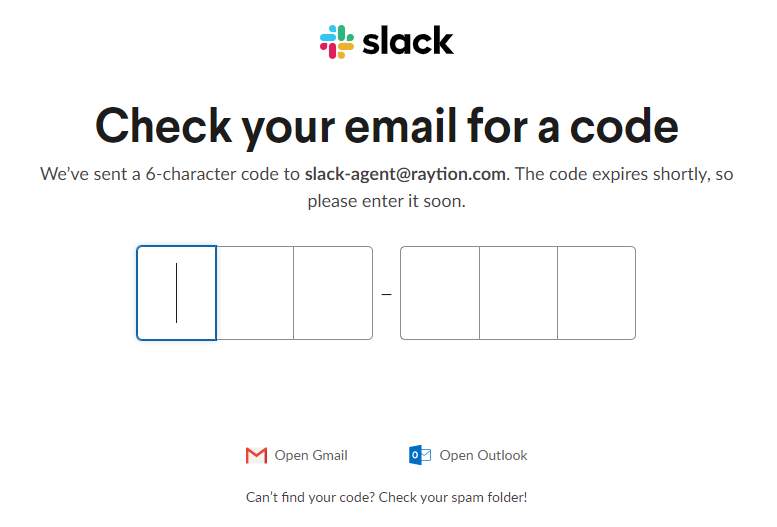
Enter the received code
-
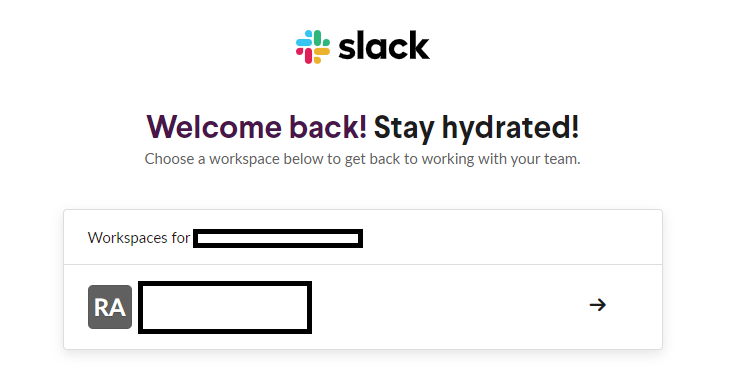
You are now signed in and can select a workspace
Register the Connector in Your Slack Workspace
-
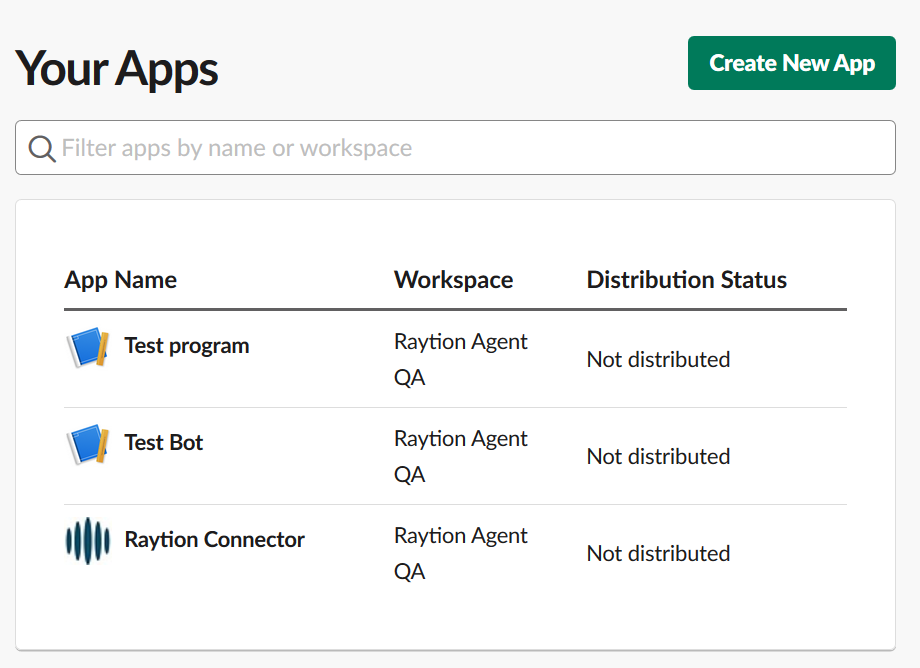
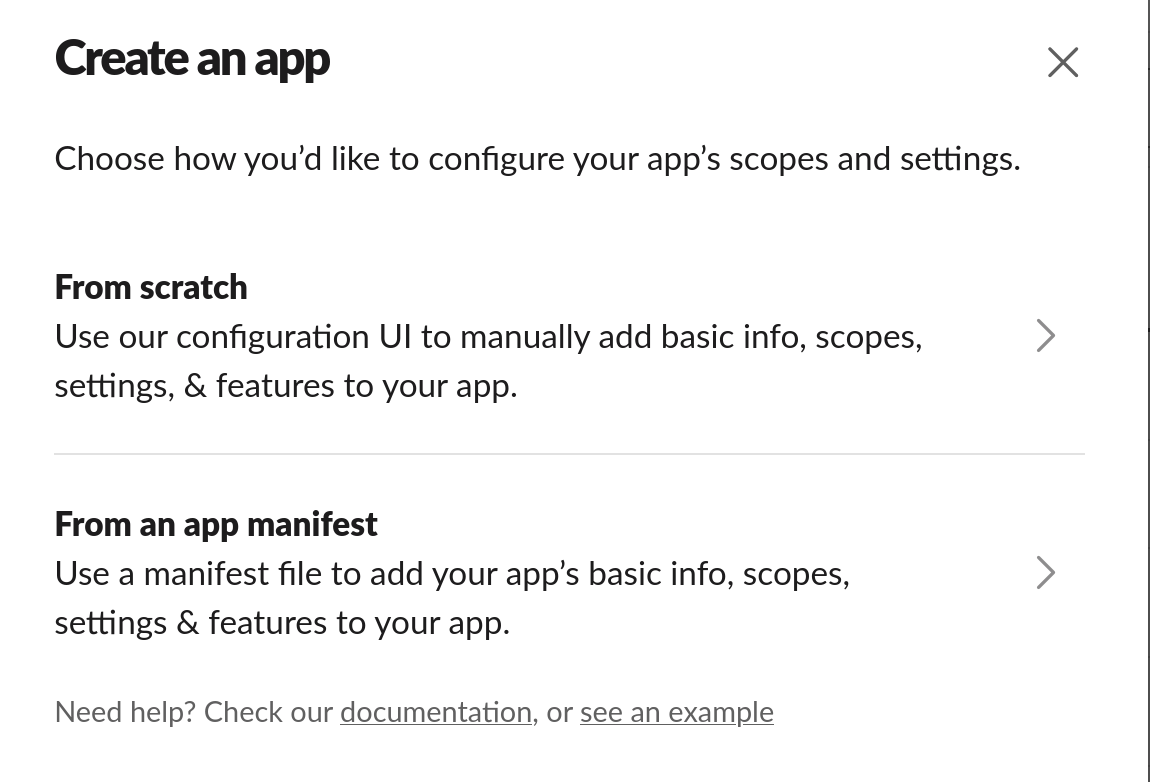
Go to https://api.slack.com/apps and click on "Create New App"
-
Select "From scratch"
-
Enter a name for the app and select your workspace
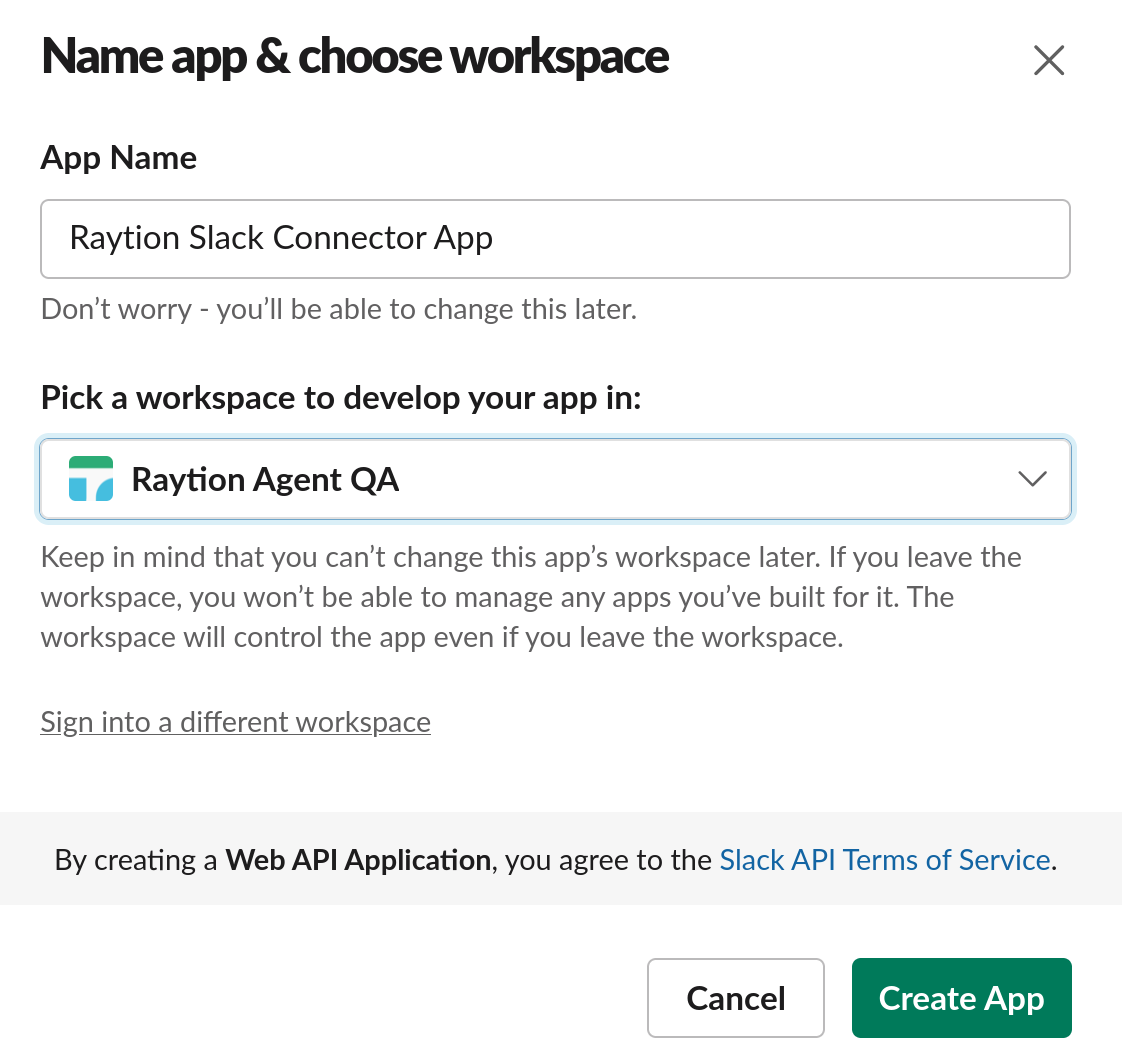
When the app is created you will be redirected to the app’s management page.
Grant OAuth Permissions to the Connector
-
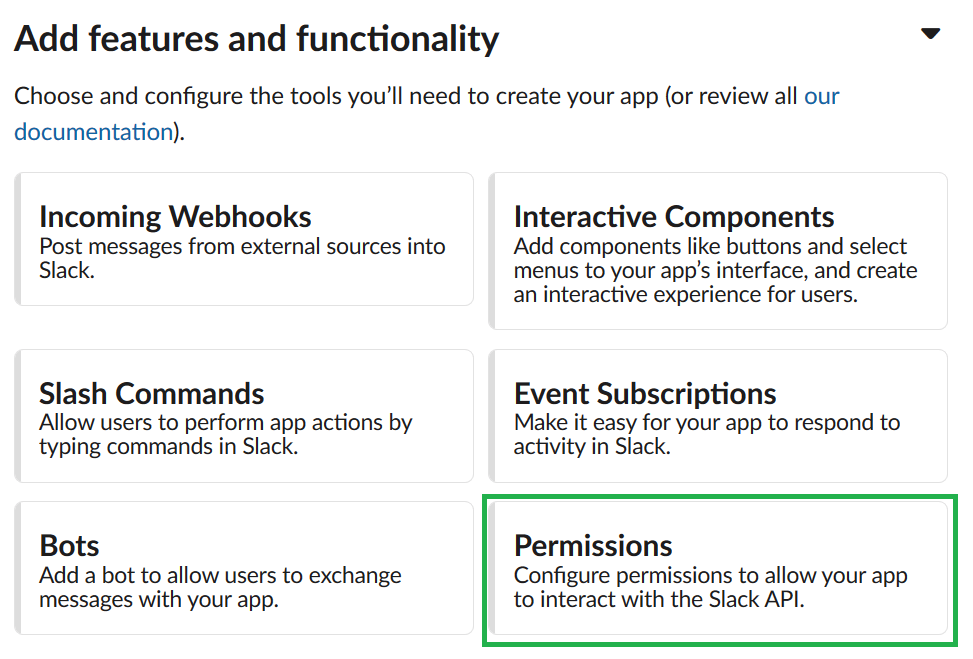
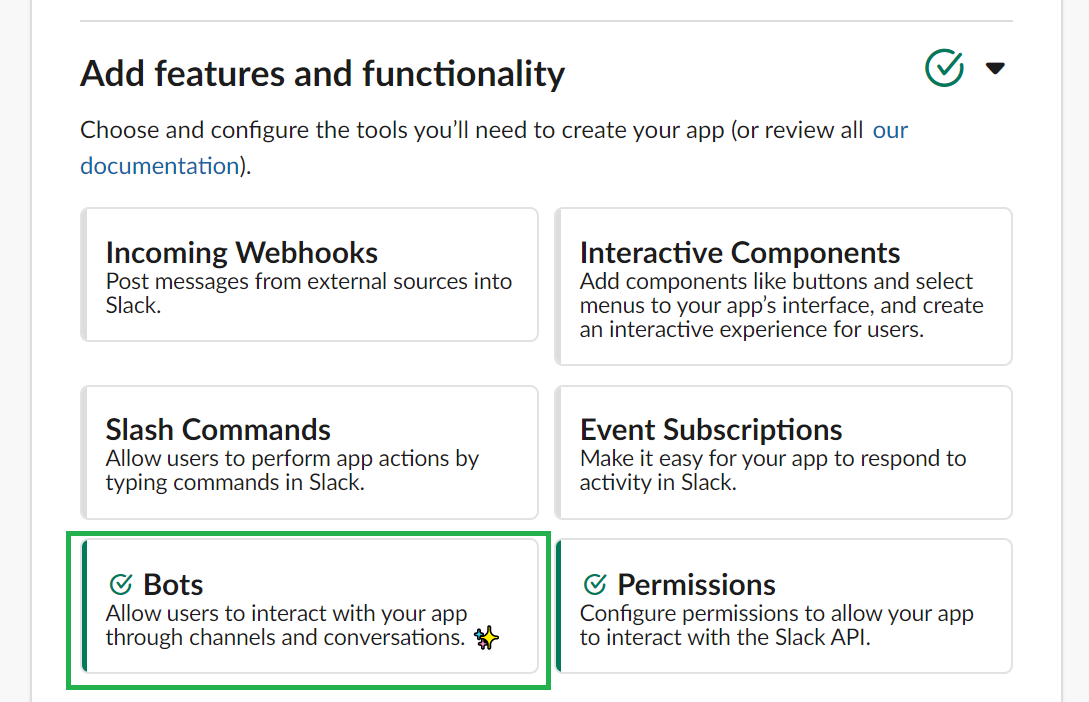
On the app’s management page under “Add features and functionality” click on “Permissions”
-
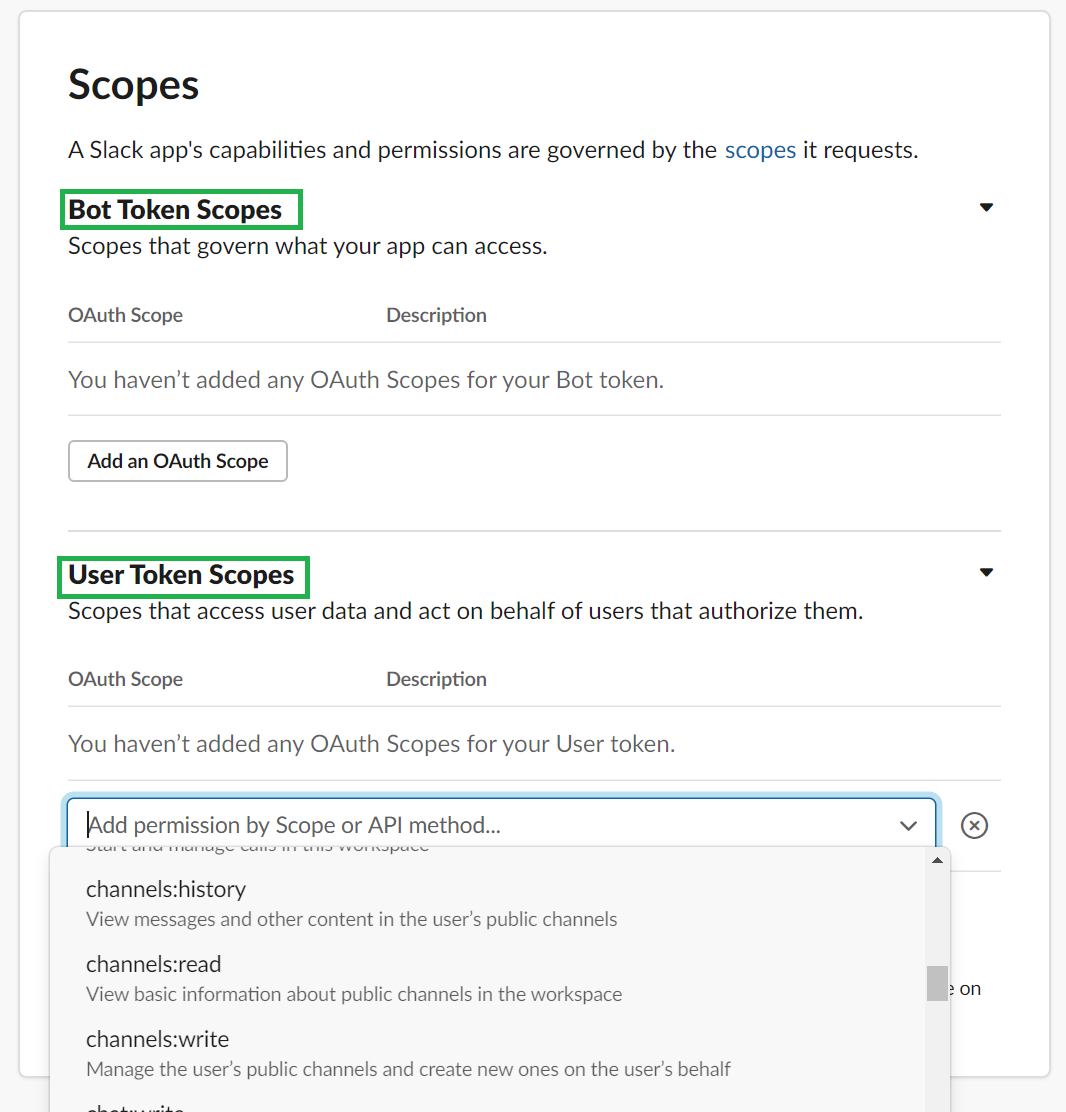
On the following screen the scopes for the API access token have to be defined. There are two kinds of token that can be used, "bot tokens" and "user tokens".
-
Bot tokens
-
Bot tokens represent a bot associated with the app installed in a workspace. Unlike user tokens, they’re not tied to a user’s identity; they’re just tied to your app.
-
Since acting independently allows your app to stay installed even when an installing user is deactivated, using bot tokens is usually for the best.
-
New bot users can request individual scopes, similar to user tokens.
-
If you choose the bot token, a bot user will be generated in the background that has to be assigned as a member to each channel that should be indexed.
-
-
User tokens
-
User tokens represent workspace members. They are issued for the user who installed the app and for users who authenticate the app. When your app asks for OAuth scopes, they are applied to user tokens. You can use these tokens to take actions on behalf of users.
-
User tokens represent the same access a user has to a workspace — the channels, conversations, users, reactions, etc. they can see.
-
Write actions with user tokens are performed as if by the user themselves.
-
With a user token created by an admin account, assigning user as member to each channel is not necessary, because the admin, which the Slack Connector will login as, using the OAuth2 token, can read channels without being a member.
-
-
-
Please choose "Bot Token Scopes" or "User Token Scopes" and add the following OAuth Scopes:
-
channels:history -
channels:read -
files:read -
remote_files:read -
team:read -
users:read
-
-
Optionally Restrict API Token Usage to the (external) IP address range the Slack Connector will send requests from.
-
If you chose the "Bot Token Scope", you will notice that now in the "Features and Functionality" section the button to configure bots is checked. Here you can find and edit information about the bot that was assigned to the token.
Enable Events and Socket Mode for Changelog Processing (optional feature)
-
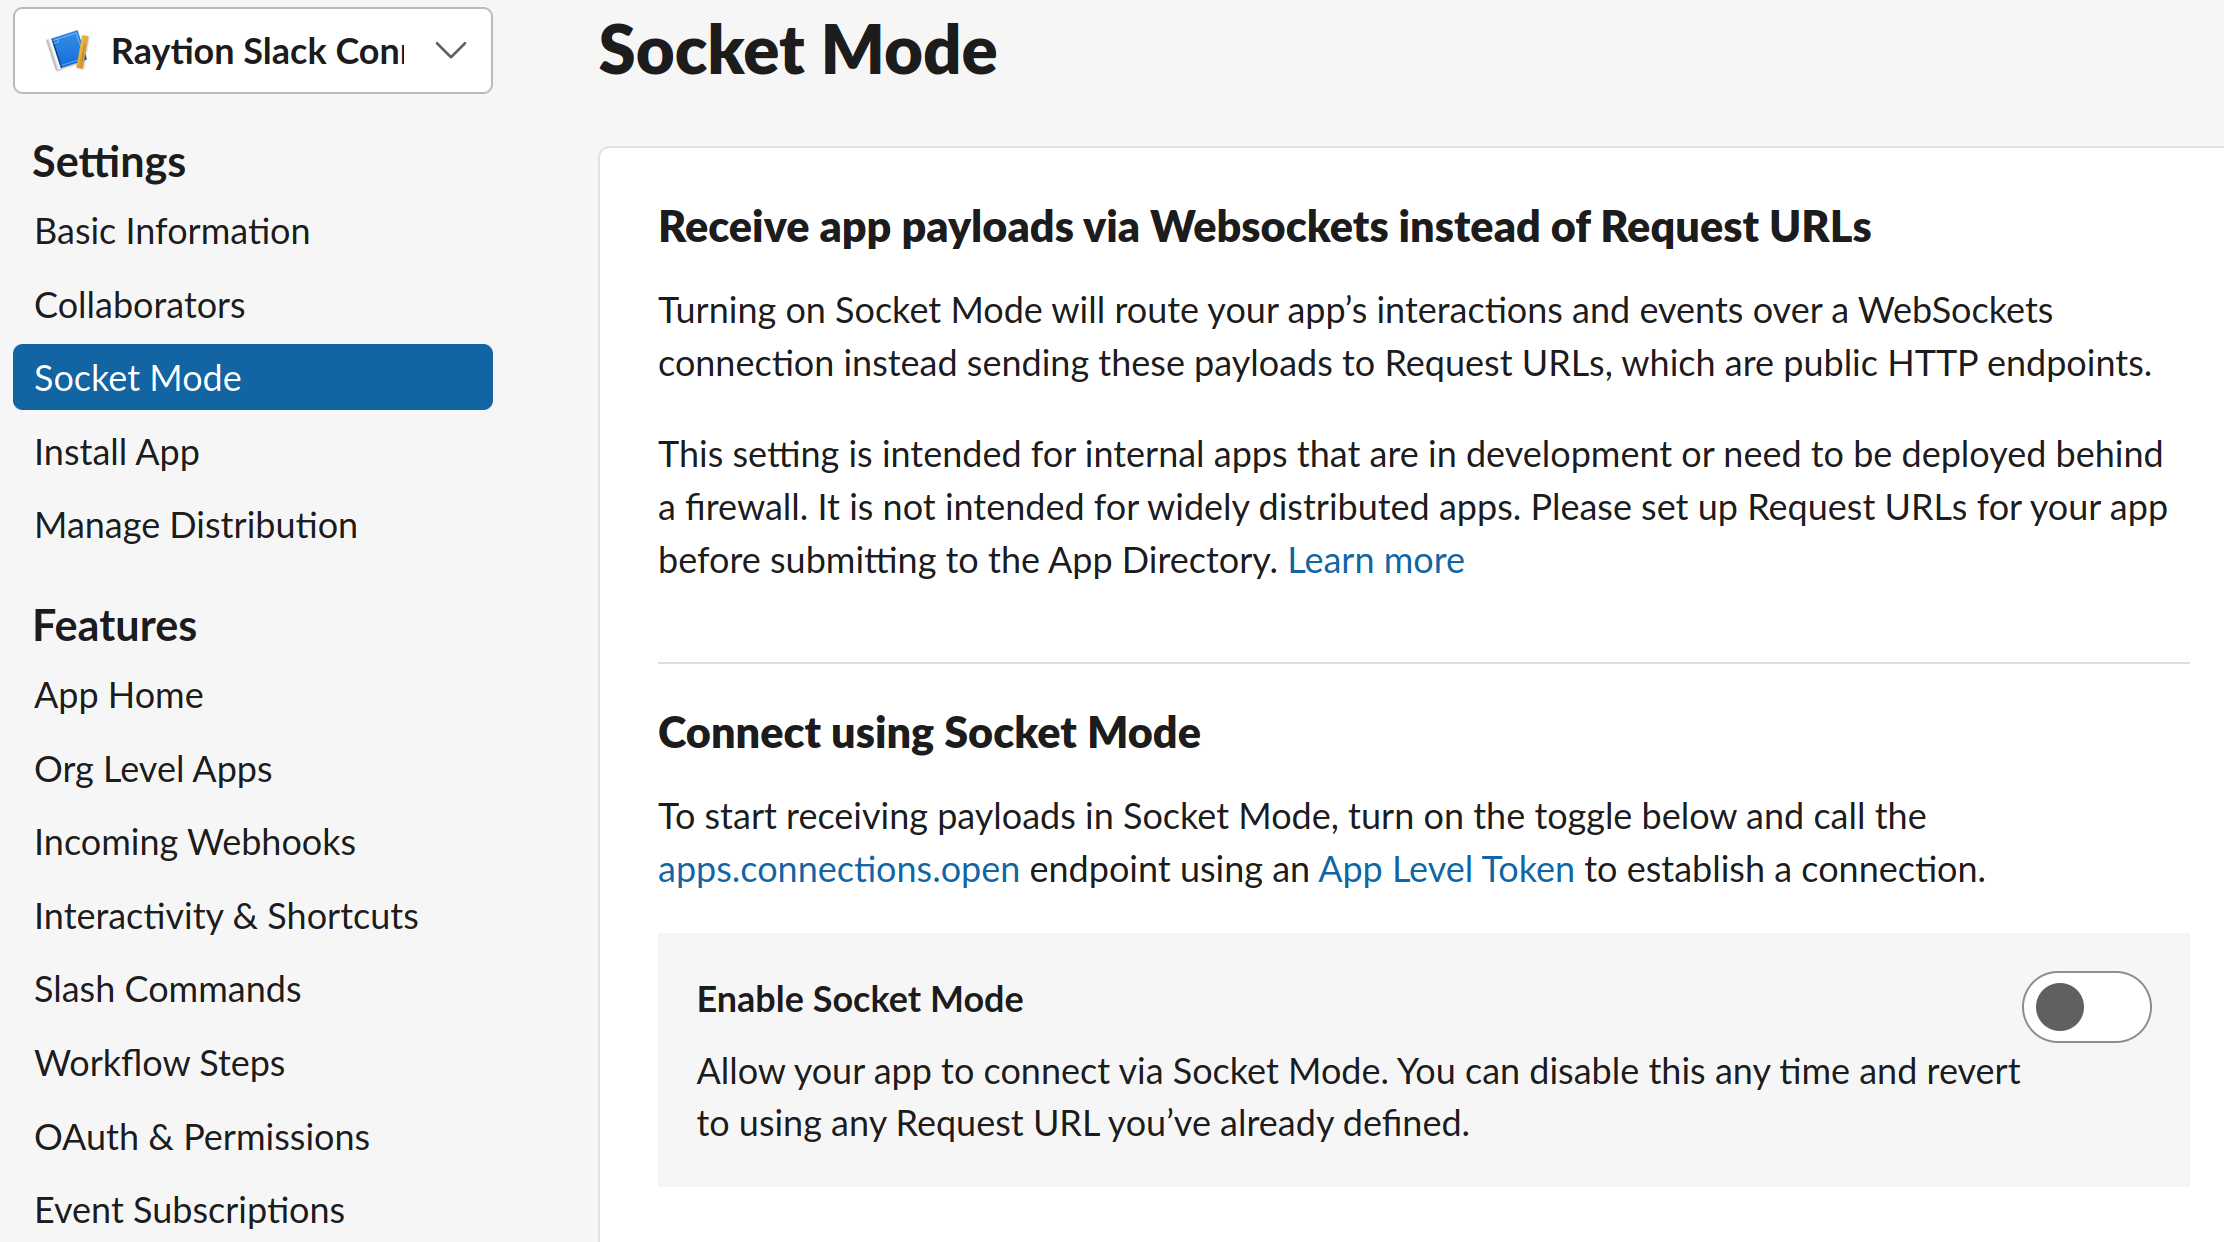
Change Processing requires that Slack Socket Mode is enabled. To enable it, click on “Socket Mode” on the left sidebar under “Settings”, and then click on “Enable Socket Mode”
-
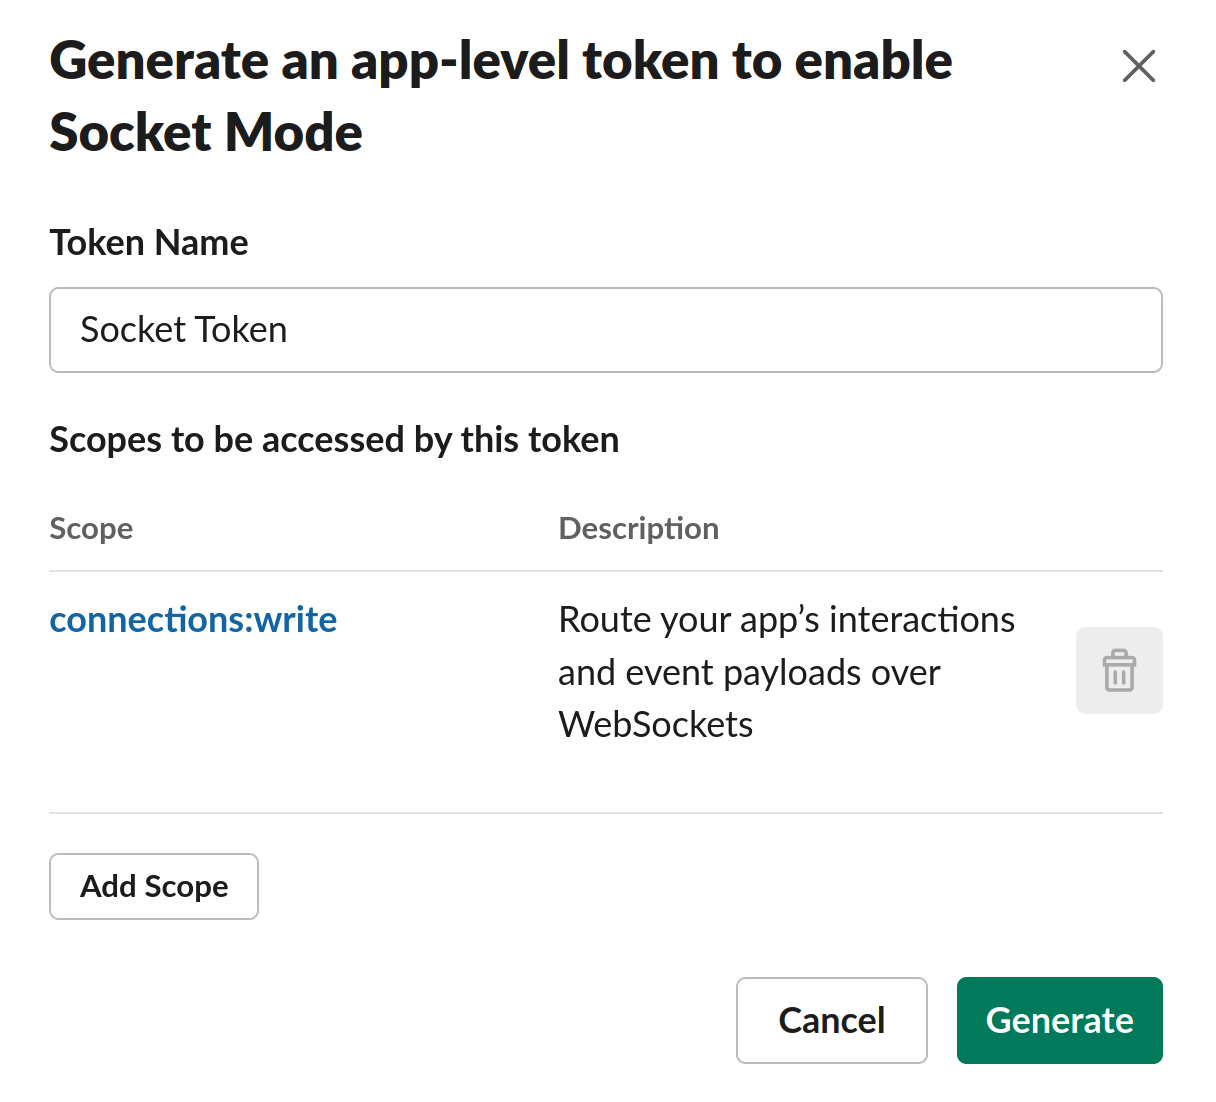
Enter a Token Name, ensure connections:write is the only defined scope and click “Generate”.
-
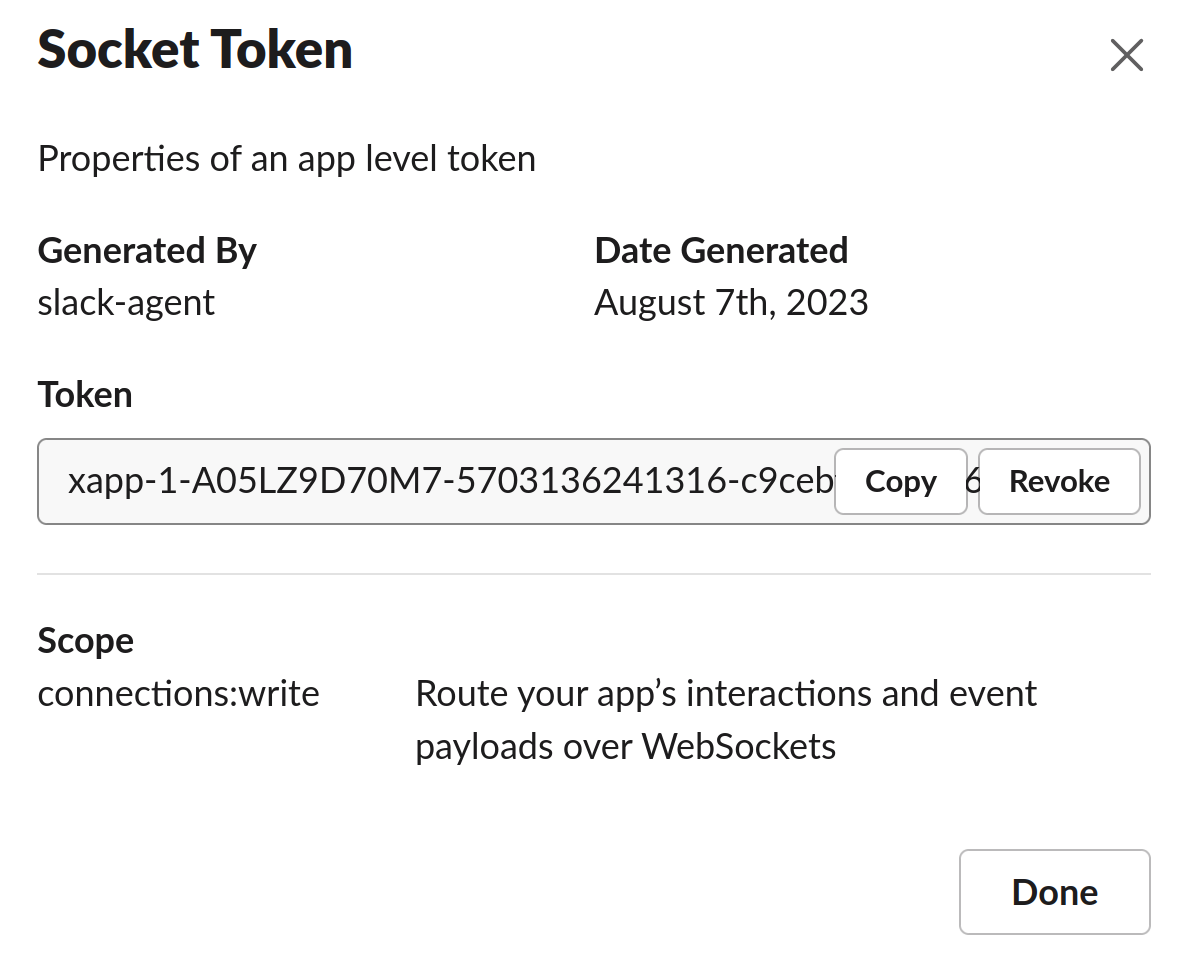
Copy the generated token, this will be used in the Connector UI configuration, then click on Done.
-
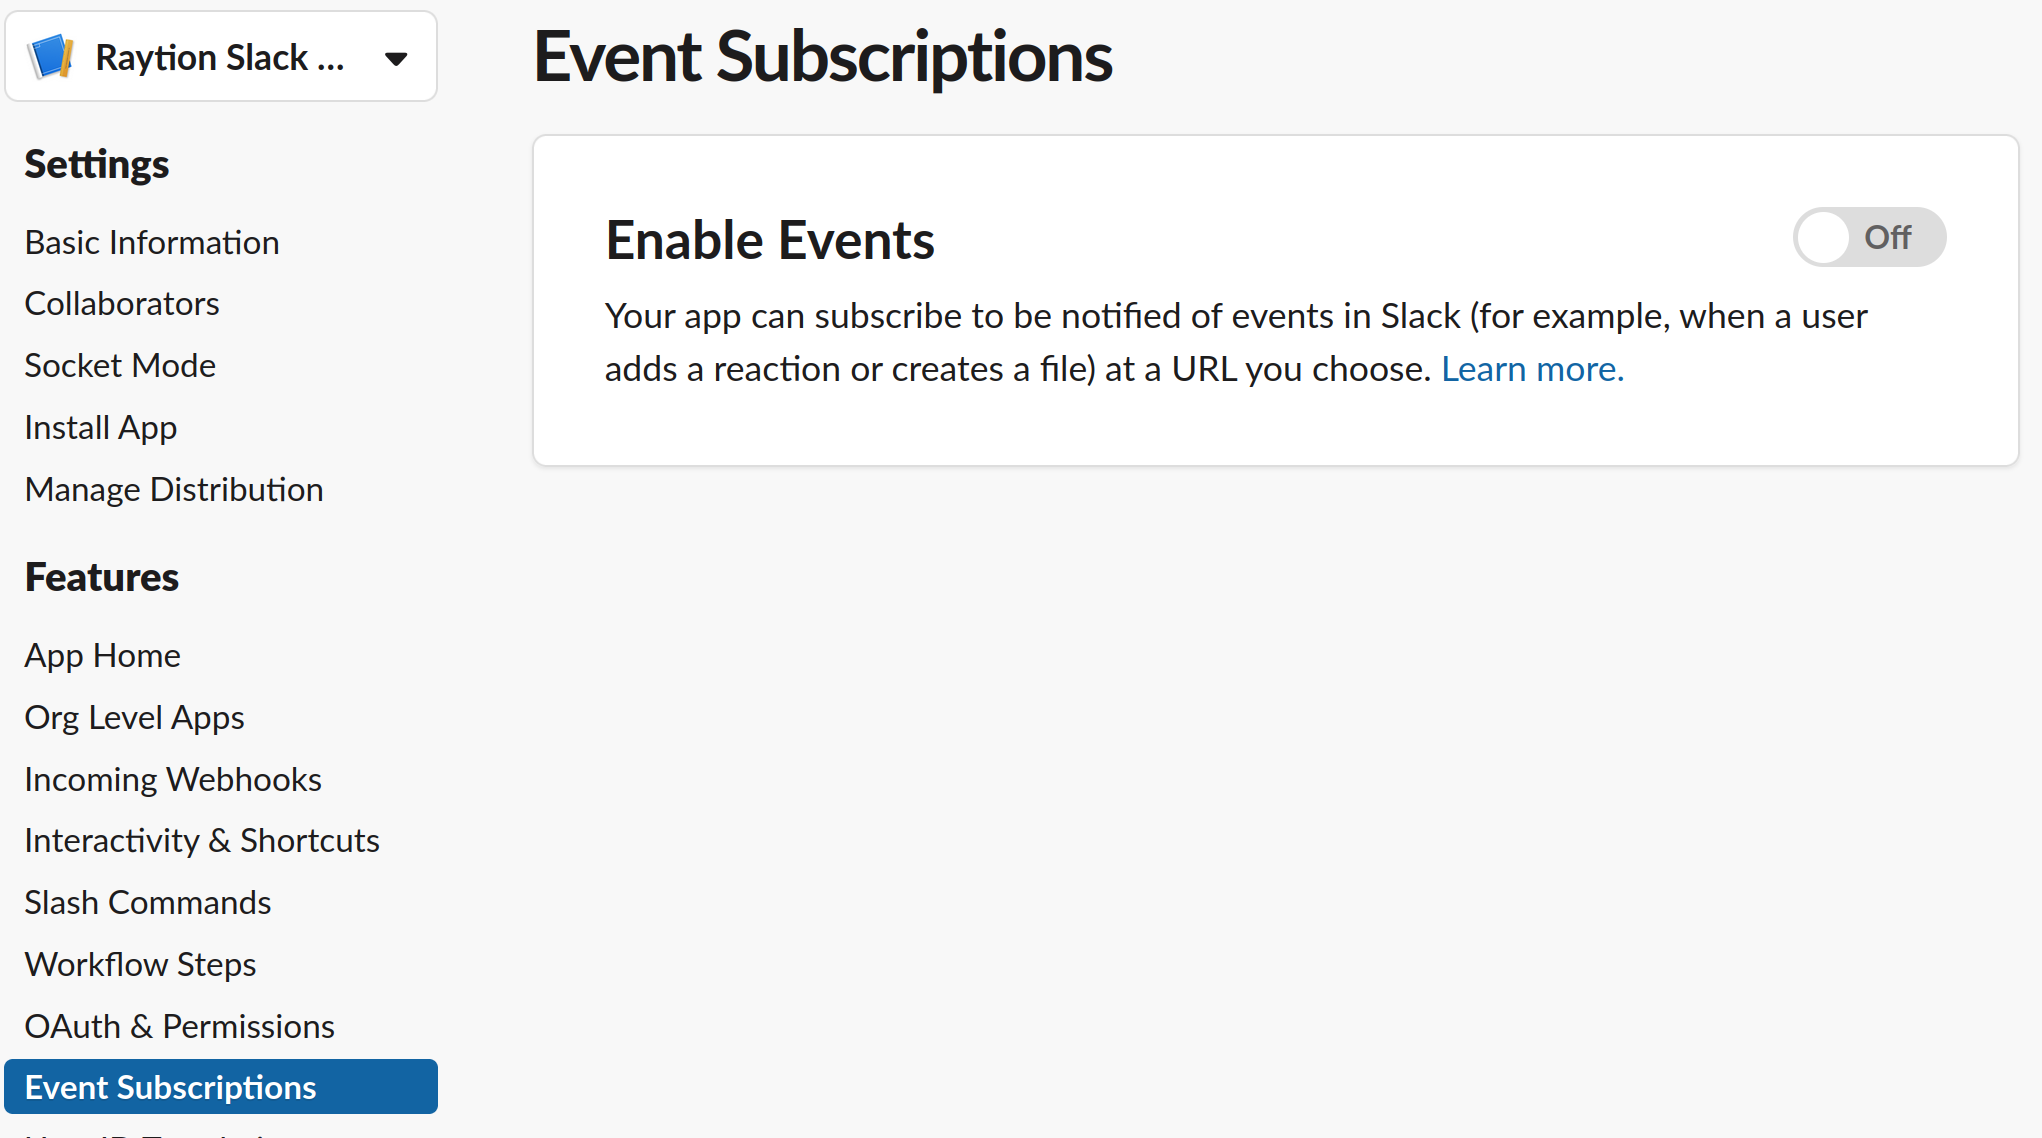
To enable the events API, click on "Event Subscriptions" under "Features" in the left sidebar. Turn "Enable Events" to on.
-
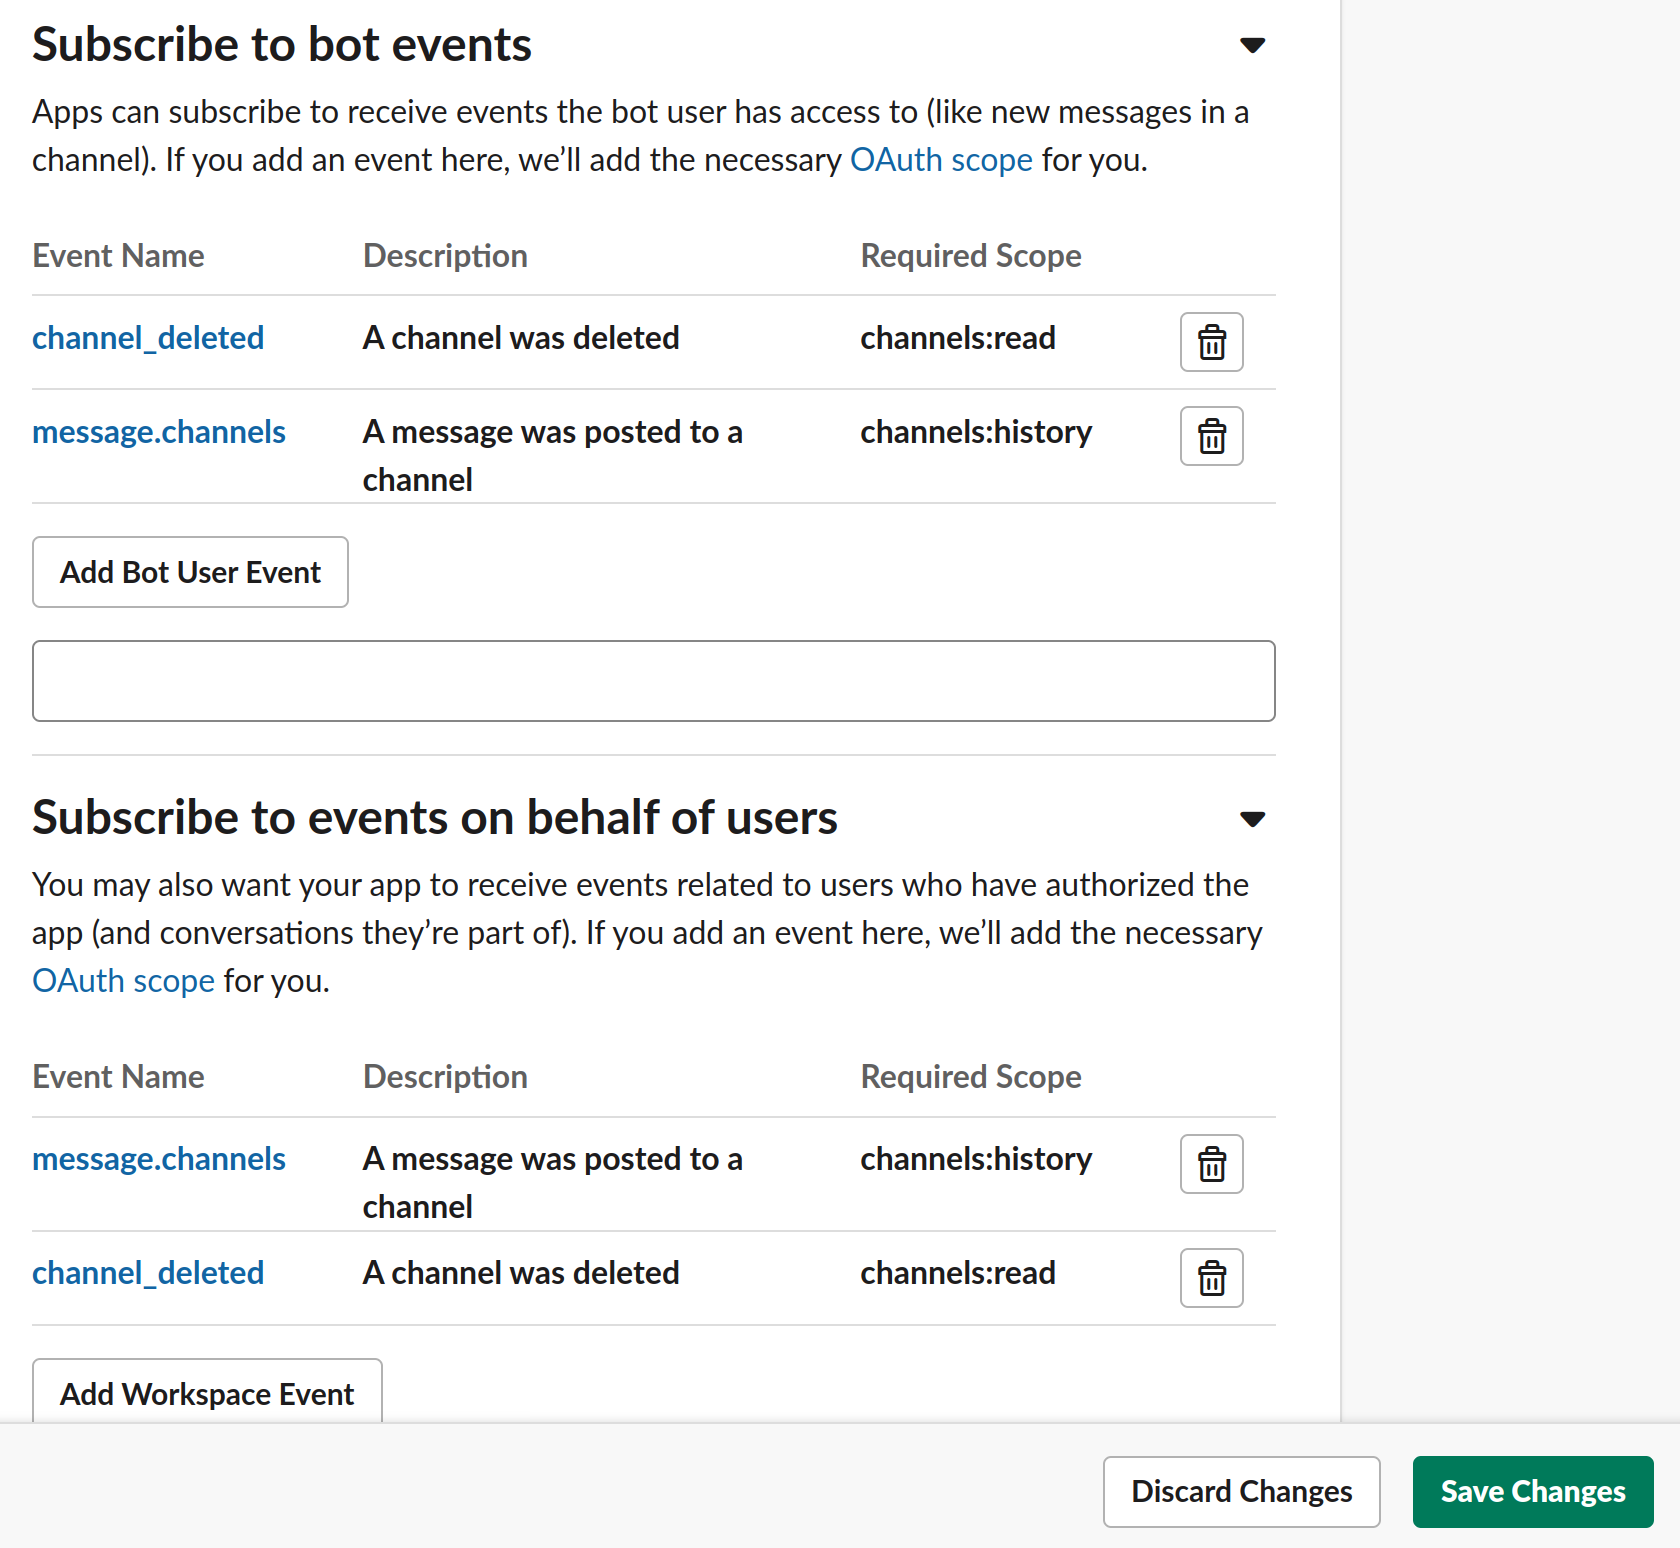
On the following screen define the scopes for the events that are sent to the connector. There are two event types, “bot events” and “user events”.
-
Click on "Add Bot User Events" and "Add Workspace Event" and add the following scopes:
-
message.channels -
channel_deleted
-
-
Click on "Save Changes".
-
Upon launching the connector UI, select "Enable Change Processing" and input the generated token into the provided pop-up field.


| The connector is just receiving events while running. When the connector is shut down, the events will not be detected and the change processing does not reflect the last changes in the workspace. |
| Currently, the events received by the connector for the Change processing reflect message and reply adds, changes and deletes, as well as channel deletes. |
Install the Connector in Your Slack Workspace
-
On the "Basic Information" page, click on the "Install to Workspace" button

-
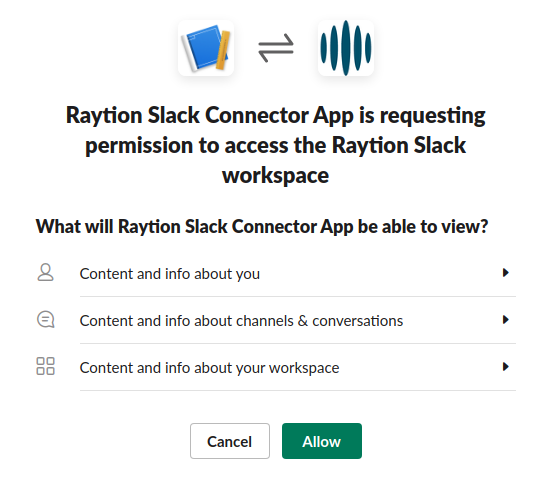
On the next page you may inspect the permissions and then click on "Allow"
-
Make note of the OAuth Access Token you are provided on the Settings → Install App page, also viewable in "OAuth & Permissions", were you configured the permissions previously. This is the Access Token that must be put in the Slack Instance Settings of the agent configuration.
