Salesforce Configuration
Setup Salesforce
The connector uses a regular user to index content. Any existing Salesforce user can be used, as long as it has the right permissions. But for productive connector use, a distinct technical user used by the connector only and with just the permissions needed is strongly recommended to simplify administration
- NOTE
-
The technical user must have either a unique profile, or at least one unique permission set.
Technical User
-
Create a new Salesforce user, following the usual Salesforce workflow (cf. the Salesforce documentation).
-
Give the technical user the needed permissions and their dependencies, using the user’s profile and/or one or more permission sets:
-
Assign a profile and/or permission sets to the technical user that contain the following system permissions:
-
API Enabled,
-
Modify Metadata Through Metadata API Functions,
-
View Roles and Role Hierarchy,
-
View Setup and Configuration, and
-
View All Users.
-
-
Optionally, assign a profile and/or permission sets to the technical user that contains the system “permission” “Api only”.
-
If unlisted Chatter groups and their messages are to be crawled, assign a profile and/or permission sets to the technical user that contains the system permission “Manage Unlisted Groups”.
-
Assign a profile and/or permission sets to the technical user that contain permissions to give the technical user read access to all objects, records, and fields that should be indexed. The simplest way to do so is to use a profile or permission set containing the system permission “View All Data”. The system permission “Modify All Data” would also work if it is absolutely necessary, but is strongly discouraged due to the unnecessary extra rights this permission includes. Alternatively, you can give the permissions “Read” and “View all” on all objects to be indexed. This should be combined with the SearchableObjects configuration field, see Section 4.1.2 for details. More fine-grained permissions are not supported by Raytion.
-
If your Salesforce enforce regular password expiry, but excluding technical users from this is possible, assign a profile and/or permission set that contains the system “permission” “Password never expires”. The Salesforce Connector will work with password expiry, but this requires more administration work.
-
Connected App
For the purpose of authenticating itself against Salesforce via OAuth 2.0, the Salesforce Connector
uses a Salesforce Connected App.
To create such an app:
On the Salesforce Connector Host
-
Unpack the Salesforce Connector as described in Section 3 to
$INSTDIR. -
Open a shell terminal (UNIX) or a command console (Windows).
-
Navigate to the folder
$INSTDIR/bin. -
On Windows, type the following command:
create-jwt-key.bat
On Linux, type the following command:./create-jwt-key.sh-
The non-password values requested are used to build a Distinguished Name for the X.509 certificate needed later in this section; avoid non-ASCII characters.
-
Use the same password for all three prompts. This password will be needed in the configuration of the Salesforce Connector.
-
-
Remember or write down the file path for the certificate from the last line of output.
- Note
-
The created JWT key allows everyone and everything holding the key and its password access to the Salesforce APIs as a user matching the restrictions configured below. Protect both the key and the password accordingly.
In Salesforce Lightning
-
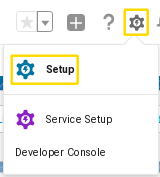
Go to Setup for current app in Lightning
-
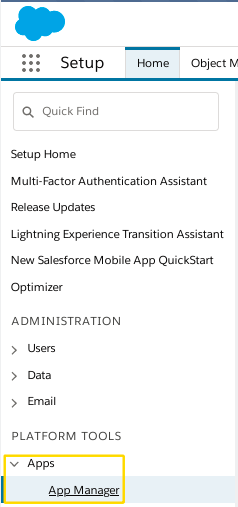
Go to Platform Tools > Apps > App Manager
-
Create a Connected App using the OAuth 2.0 JWT Bearer flow as described in
https://help.salesforce.com/articleView?id=connected_app_create_basics.htm&type=5andhttps://help.salesforce.com/articleView?id=connected_app_create_api_integration.htm&type=5-
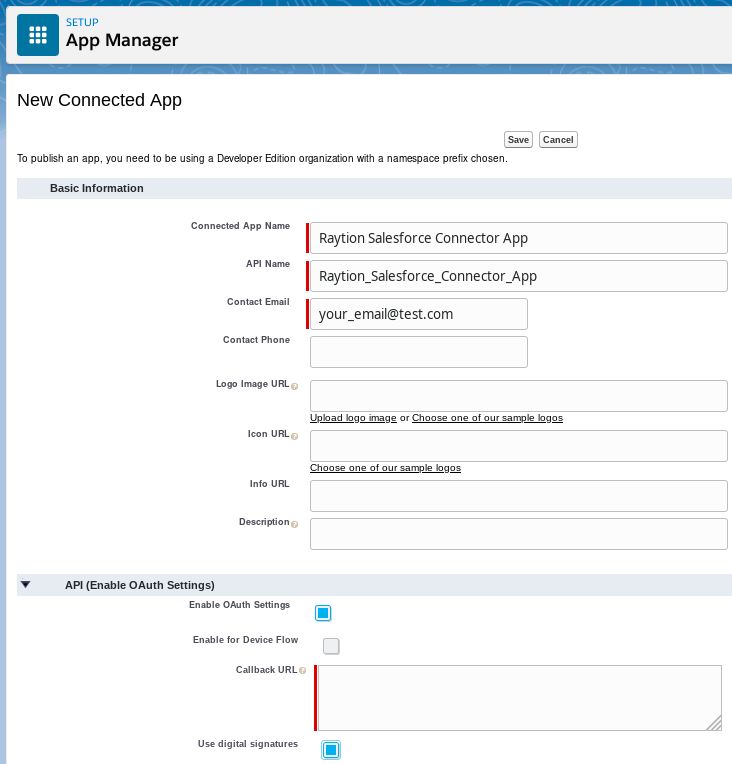
For the name, use something like “Raytion Salesforce Connector for Microsoft Search"
-
Under API (Enable OAuth settings):
-
Check “Enable OAuth Settings” plus “Use digital signatures”.
-
Enter
https://dummy-valueor a similar value for the Callback URL. -
Under “Use digital signatures”, put the certificate file created on the Salesforce Connector Host.
-
Add “Access and manage your data (api)” and “Perform requests on your behalf at any time (refresh_token, offline_access)” to the Selected OAuth Scopes
-
-
All other values should be left at the default.
-
-
Once the app has been created, copy its Consumer Key. This will be needed in the configuration of the Salesforce Connector (Section 4.1.1).
-
After the changes have taken effect on the Salesforce server, click on “Manage” and “Edit Policies”.
-
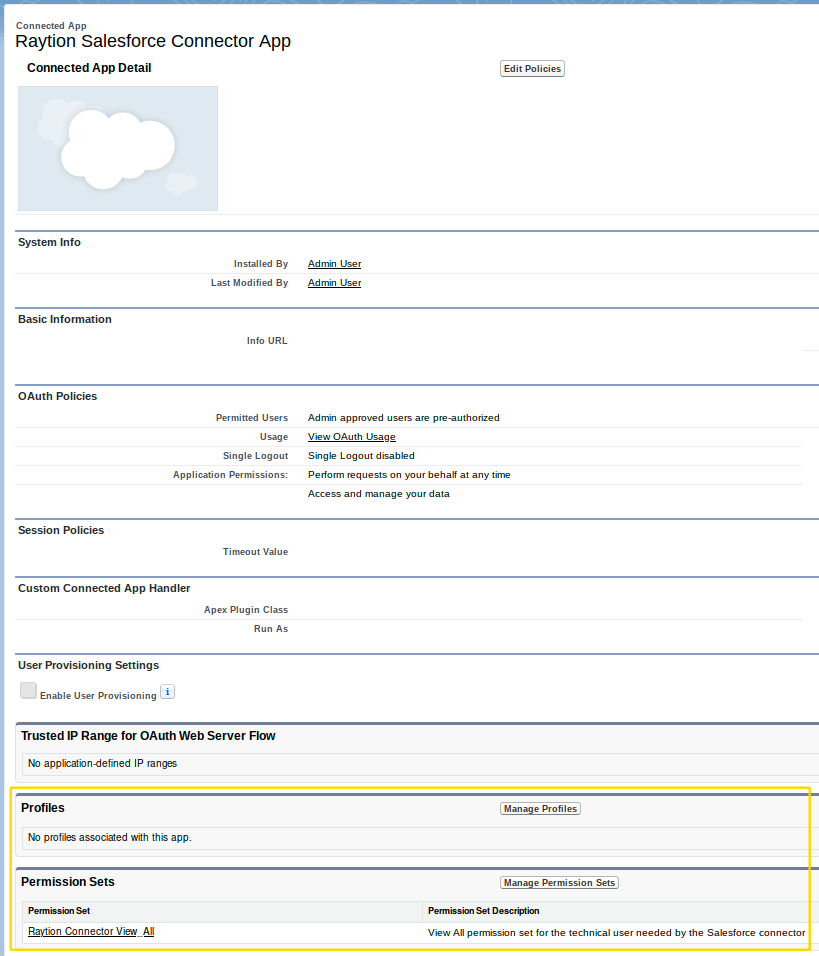
Under OAuth Policies, set Permitted Users to “Admin approved users are pre-authorized”, and Save.
-
Under Profiles and/or Permission Sets, click on the Manage button, and select the profile/permission sets unique to the technical user.
Renew the Certificate
Since the public key used for JWT is given to Salesforce in the form of a X.509 certificate,
and those certificates nearly always have an expiration date, it may be needed to renew
the certificate from time to time. (The default expiration date for the certificates created by
create-jwt-key.bat/.sh is 10 years after the certificate creation.)
To renew the certificate and the private key associated with it:
-
Shut down the Salesforce Connector.
-
Delete the old certificate and the file
jwt.p12from$INSTDIR/webapps/ROOT/WEB-INF/conf. -
Repeat all steps after step 1 from “On the Salesforce Connector Host” above. (The Salesforce Connector does not need to be unpacked again.)
-
In Salesforce Lightning, go to Setup > Platform Tools > Apps > App Manager
-
On the line with the Connected App created for the Salesforce Connector earlier, click on the triangle on the right and on “Edit”.
-
Under “Use digital signatures”, put the new certificate file created on the Salesforce Connector Host, and Save.