Atlassian Jira
Quick Start
Permission Preconfiguration
Jira should grant certain permissions to a technical user, who can be used in the Atlassian Jira agent to access all the data. Therefore a Jira user should be preconfigured in the following way:
-
In order to access users, groups, all projects and project roles, one of the technical user’s groups must have the Jira Administrators global permission.
-
In order to access all issues, the technical user or one of his groups must be included in all issue security levels, in all issue security schemes, and be granted the BROWSE Projects permission.
-
Comments and worklogs might have further access restrictions. These also hold true for a technical user who is part of Jira Administrators. Therefore, the technical user can only access and synchronize those comments and worklogs he is allowed to see by means of his roles. If all comments and worklogs should be indexed, the technical user must have the roles these items might be restricted to.
-
In order to retrieve certain server informations(e.g., the server time), one of the technical user’s groups must have the Jira Users permission.
Note: It is recommended to create a new technical user and a new group that contains only this user.
Installation and Configuration of the Jira Plugin
The Jira Plugin raytion-jira-agent-plugin-<version>.jar will be delivered within the same zip file package as the Connector Server.
Note: The plugin version depends on the Jira version. Please notify your Raytion contact if you plan a Jira upgrade.
Installation Steps
In order to perform the installation of the plugin in Jira, a Jira user with Jira System Administrators permission must log in to Jira.
-
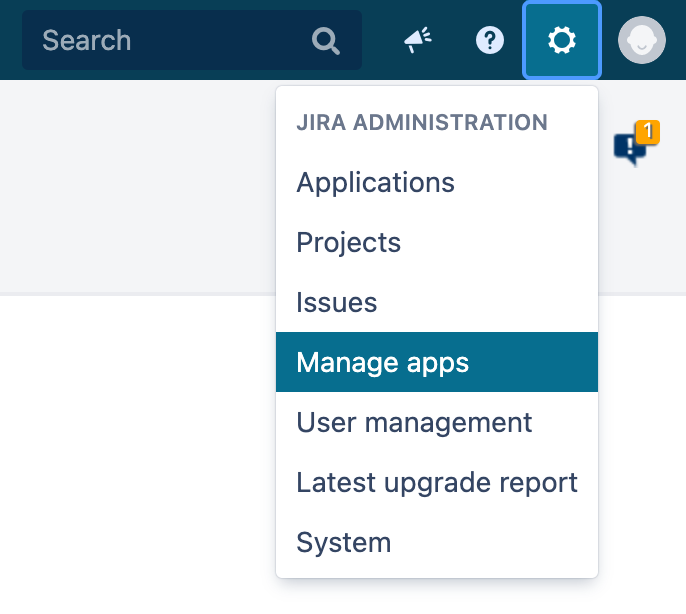
Navigate to the Manage apps page in the JIRA ADMINISTRATION menu.
-
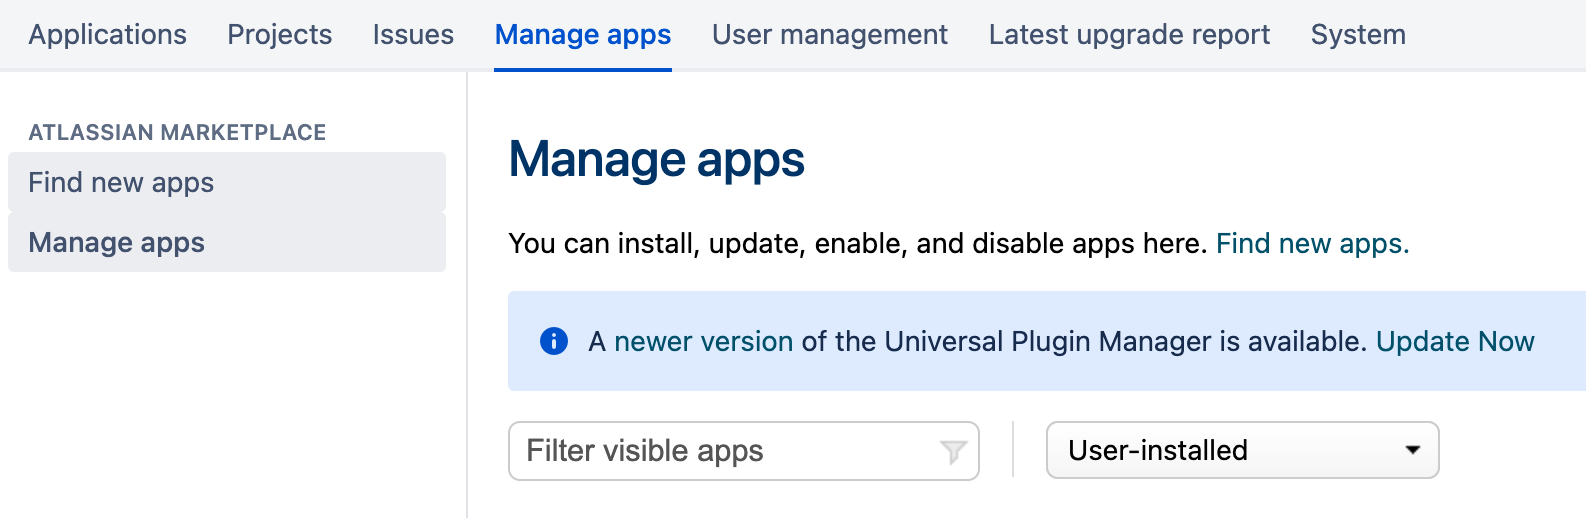
Navigate to the Manage apps subpage.
-
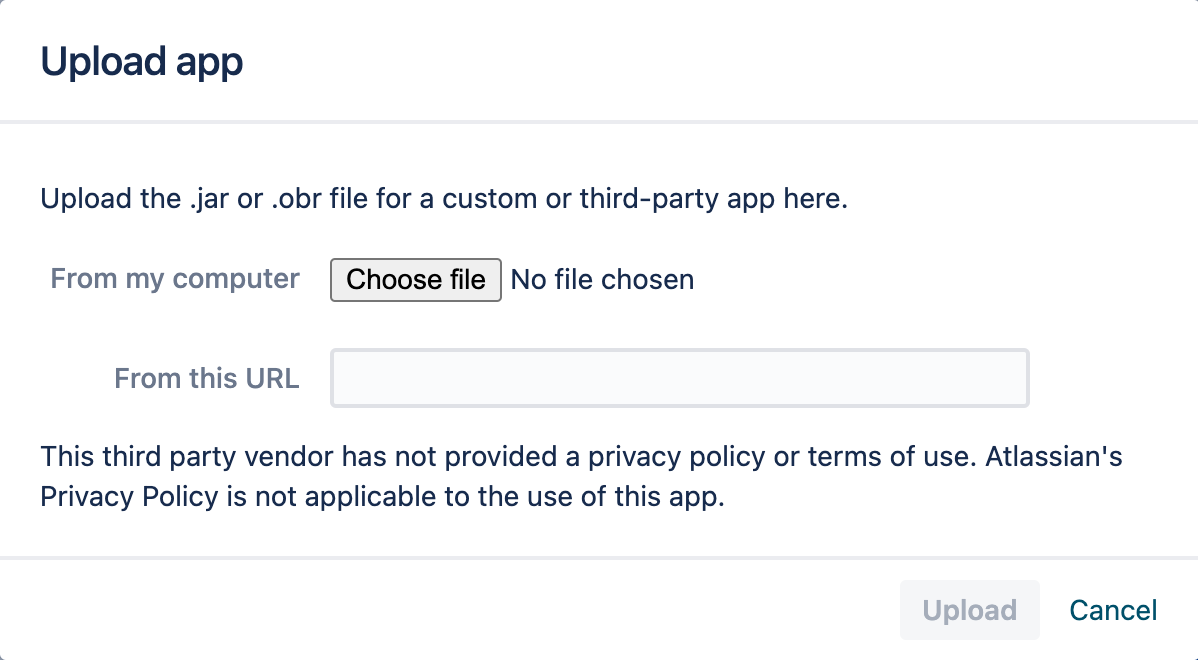
Click on the Upload app button.

-
Choose the Jar file of the plugin under From my computer and click on the Upload button.
Configuration Steps
The functionality of the plugin is inaccessible until it is configured properly as only a given technical user can issue REST calls of the plugin. In order to configure the technical user, please perform the following steps:
-
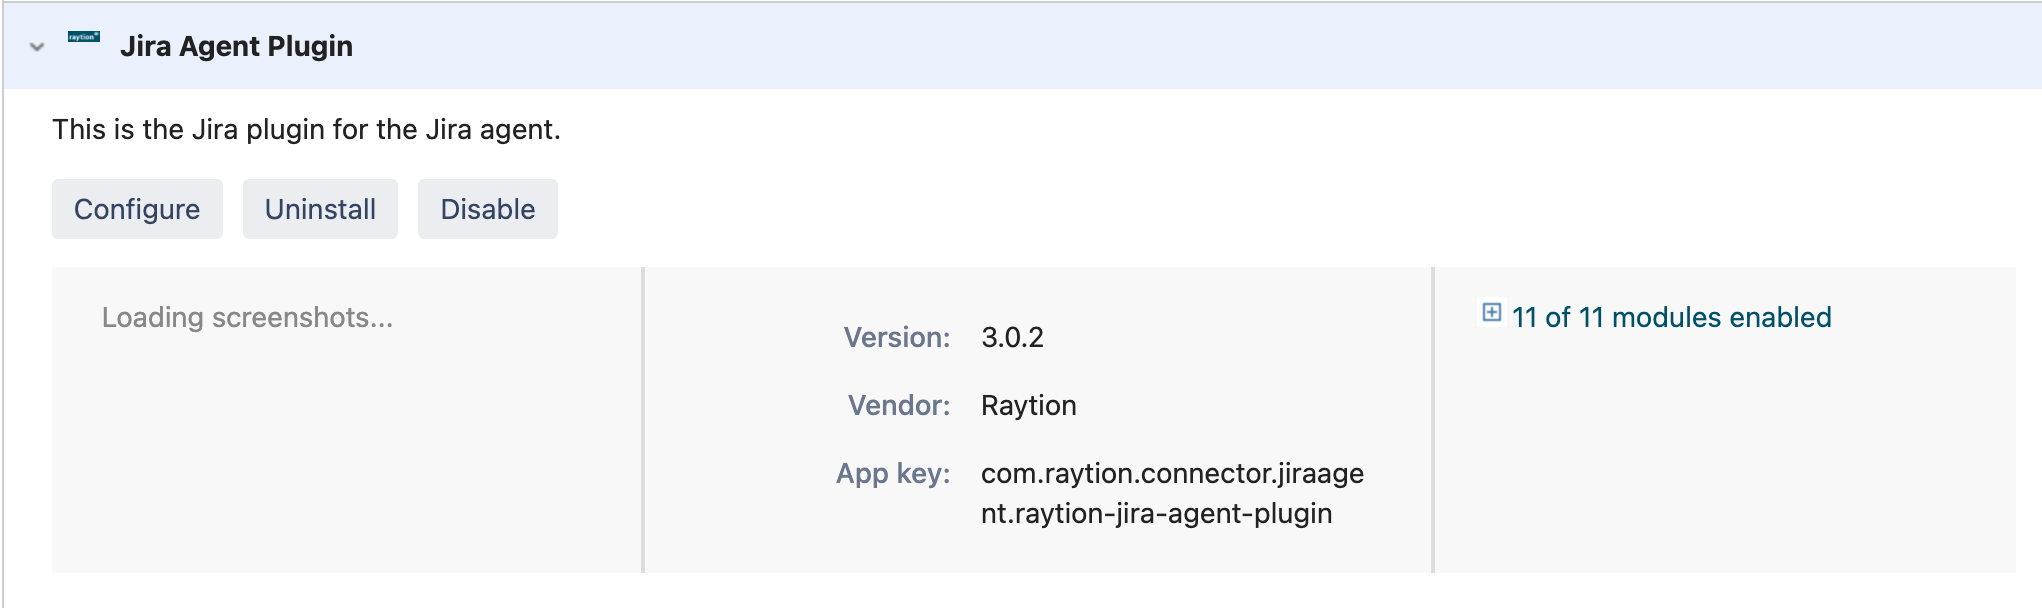
Expand the plugin tab and click on the Configure button.
-
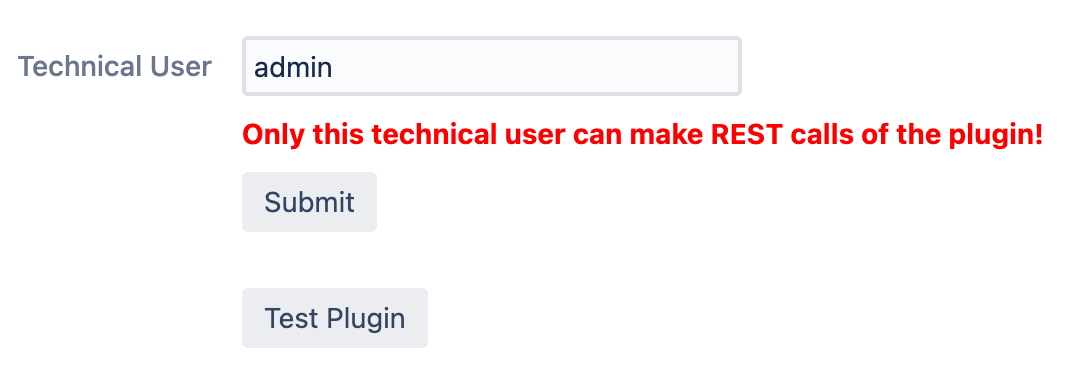
A plugin configuration page will be opened. Type in the technical user and click on the Submit button. The technical user is then configured.
-
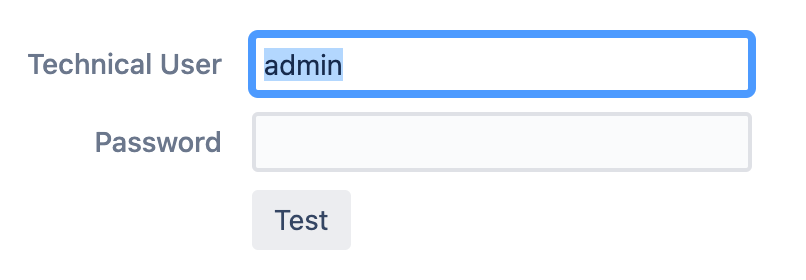
In order to test the plugin, click on the Test Plugin button. Note that a new page will be opened, where the password of the technical user must be typed in.
-
Click on the Test button, to test the plugin. A successful message should popup.