Google Drive
Quick Start
Enable APIs
For the connector to work, certain APIs in the Google Cloud have to be enabled. To do so, execute the following steps:
-
Login to the Google Cloud Console with your admin account
-
Select your project and click on Library

-
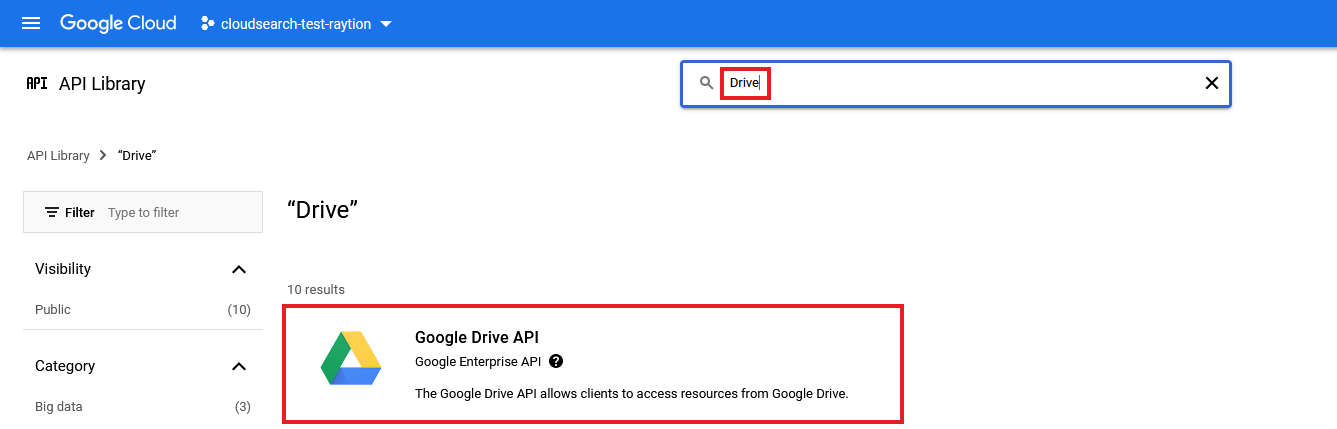
Search for Drive and click on the result Google Drive API
-
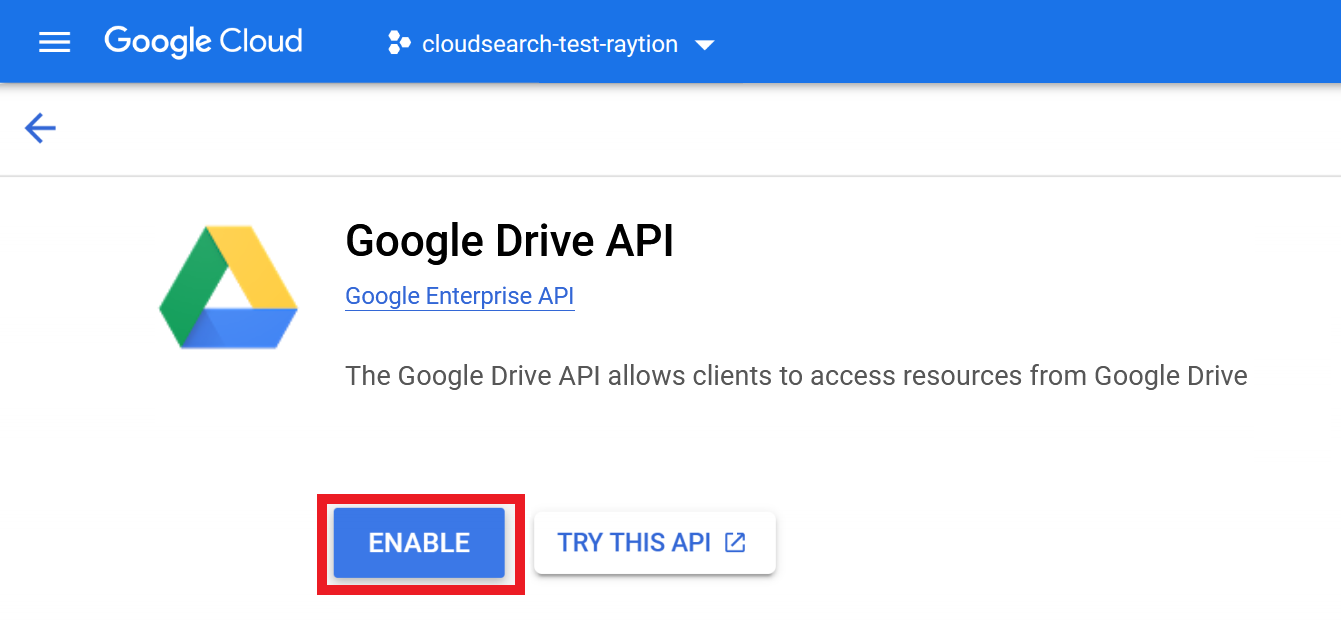
Click on ENABLE
-
Enable Admin SDK API by executing steps 3 and 4 for Admin SDK
Create Service Account
For the connector to authenticate with Google Drive a Google Cloud Service Account is needed. To create an account, the following steps have to be executed:
-
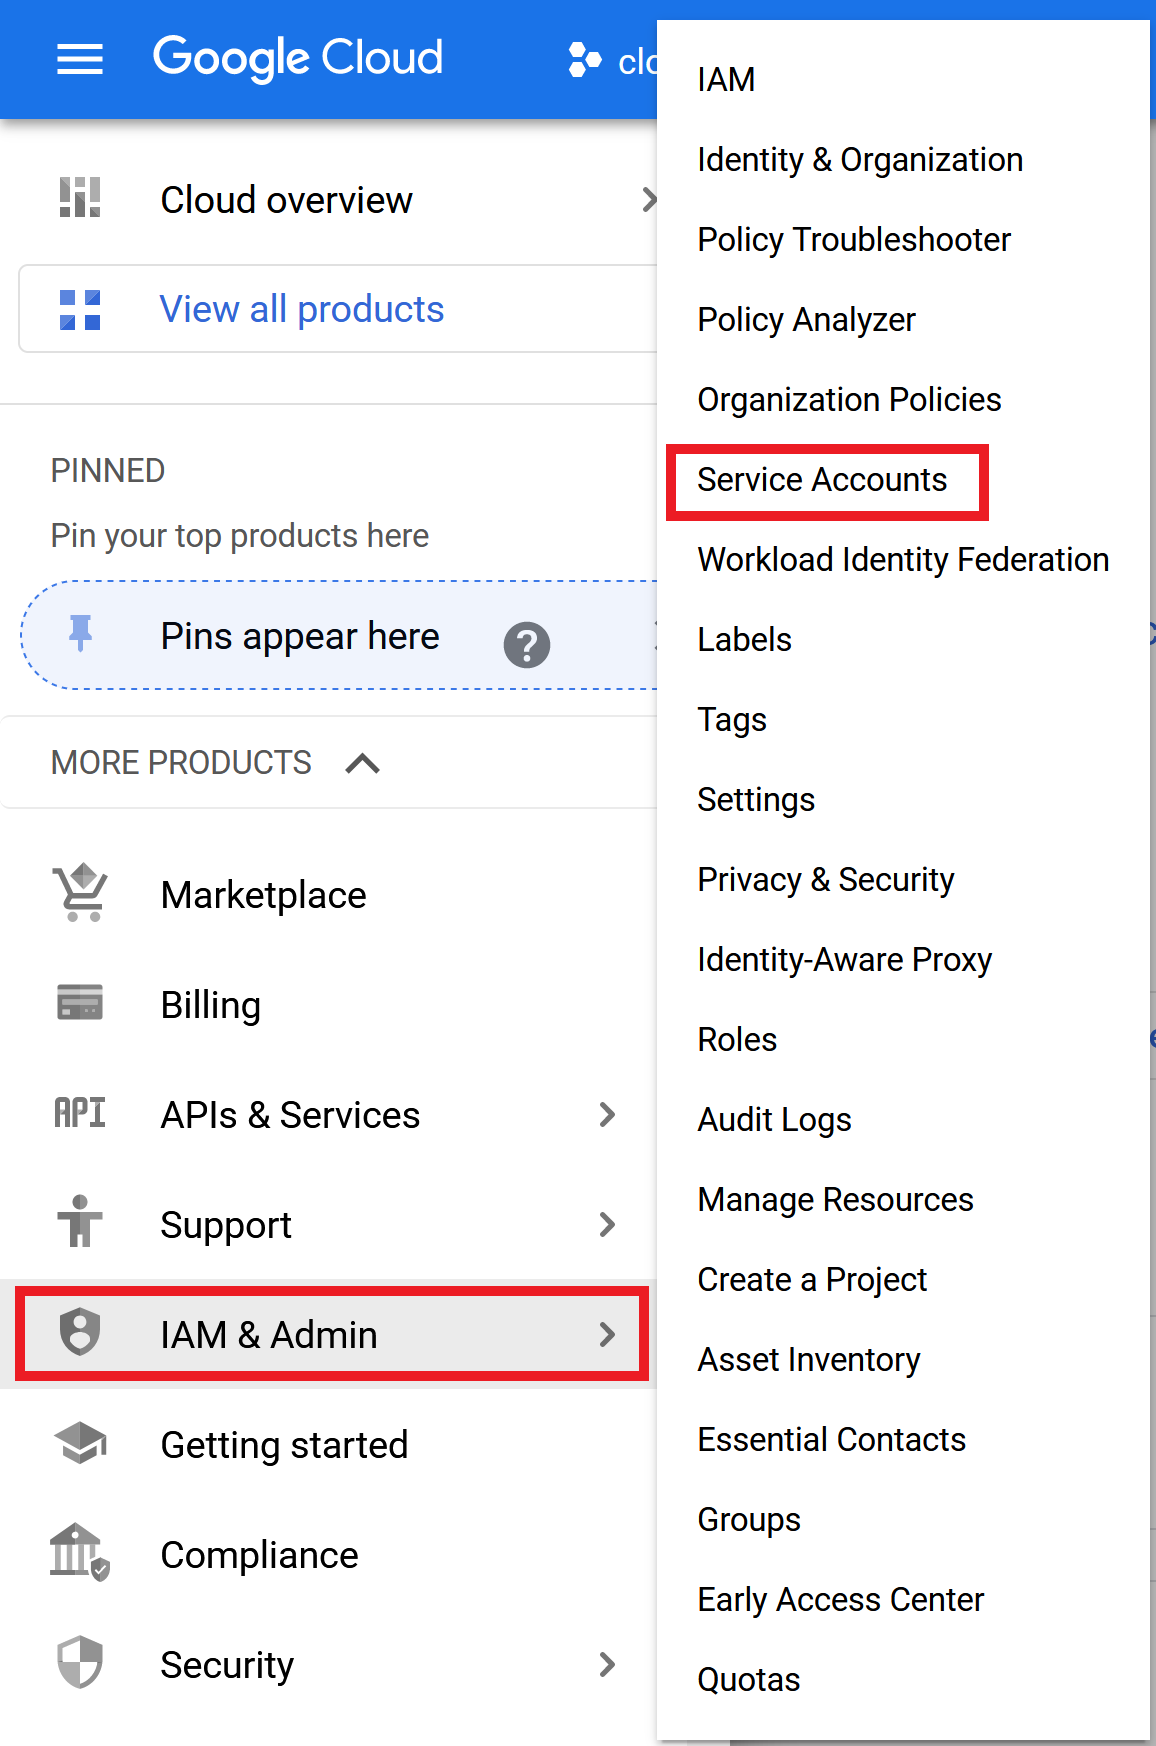
Open the menu of the Google Cloud Console and select IAM & Admin → Service accounts
-
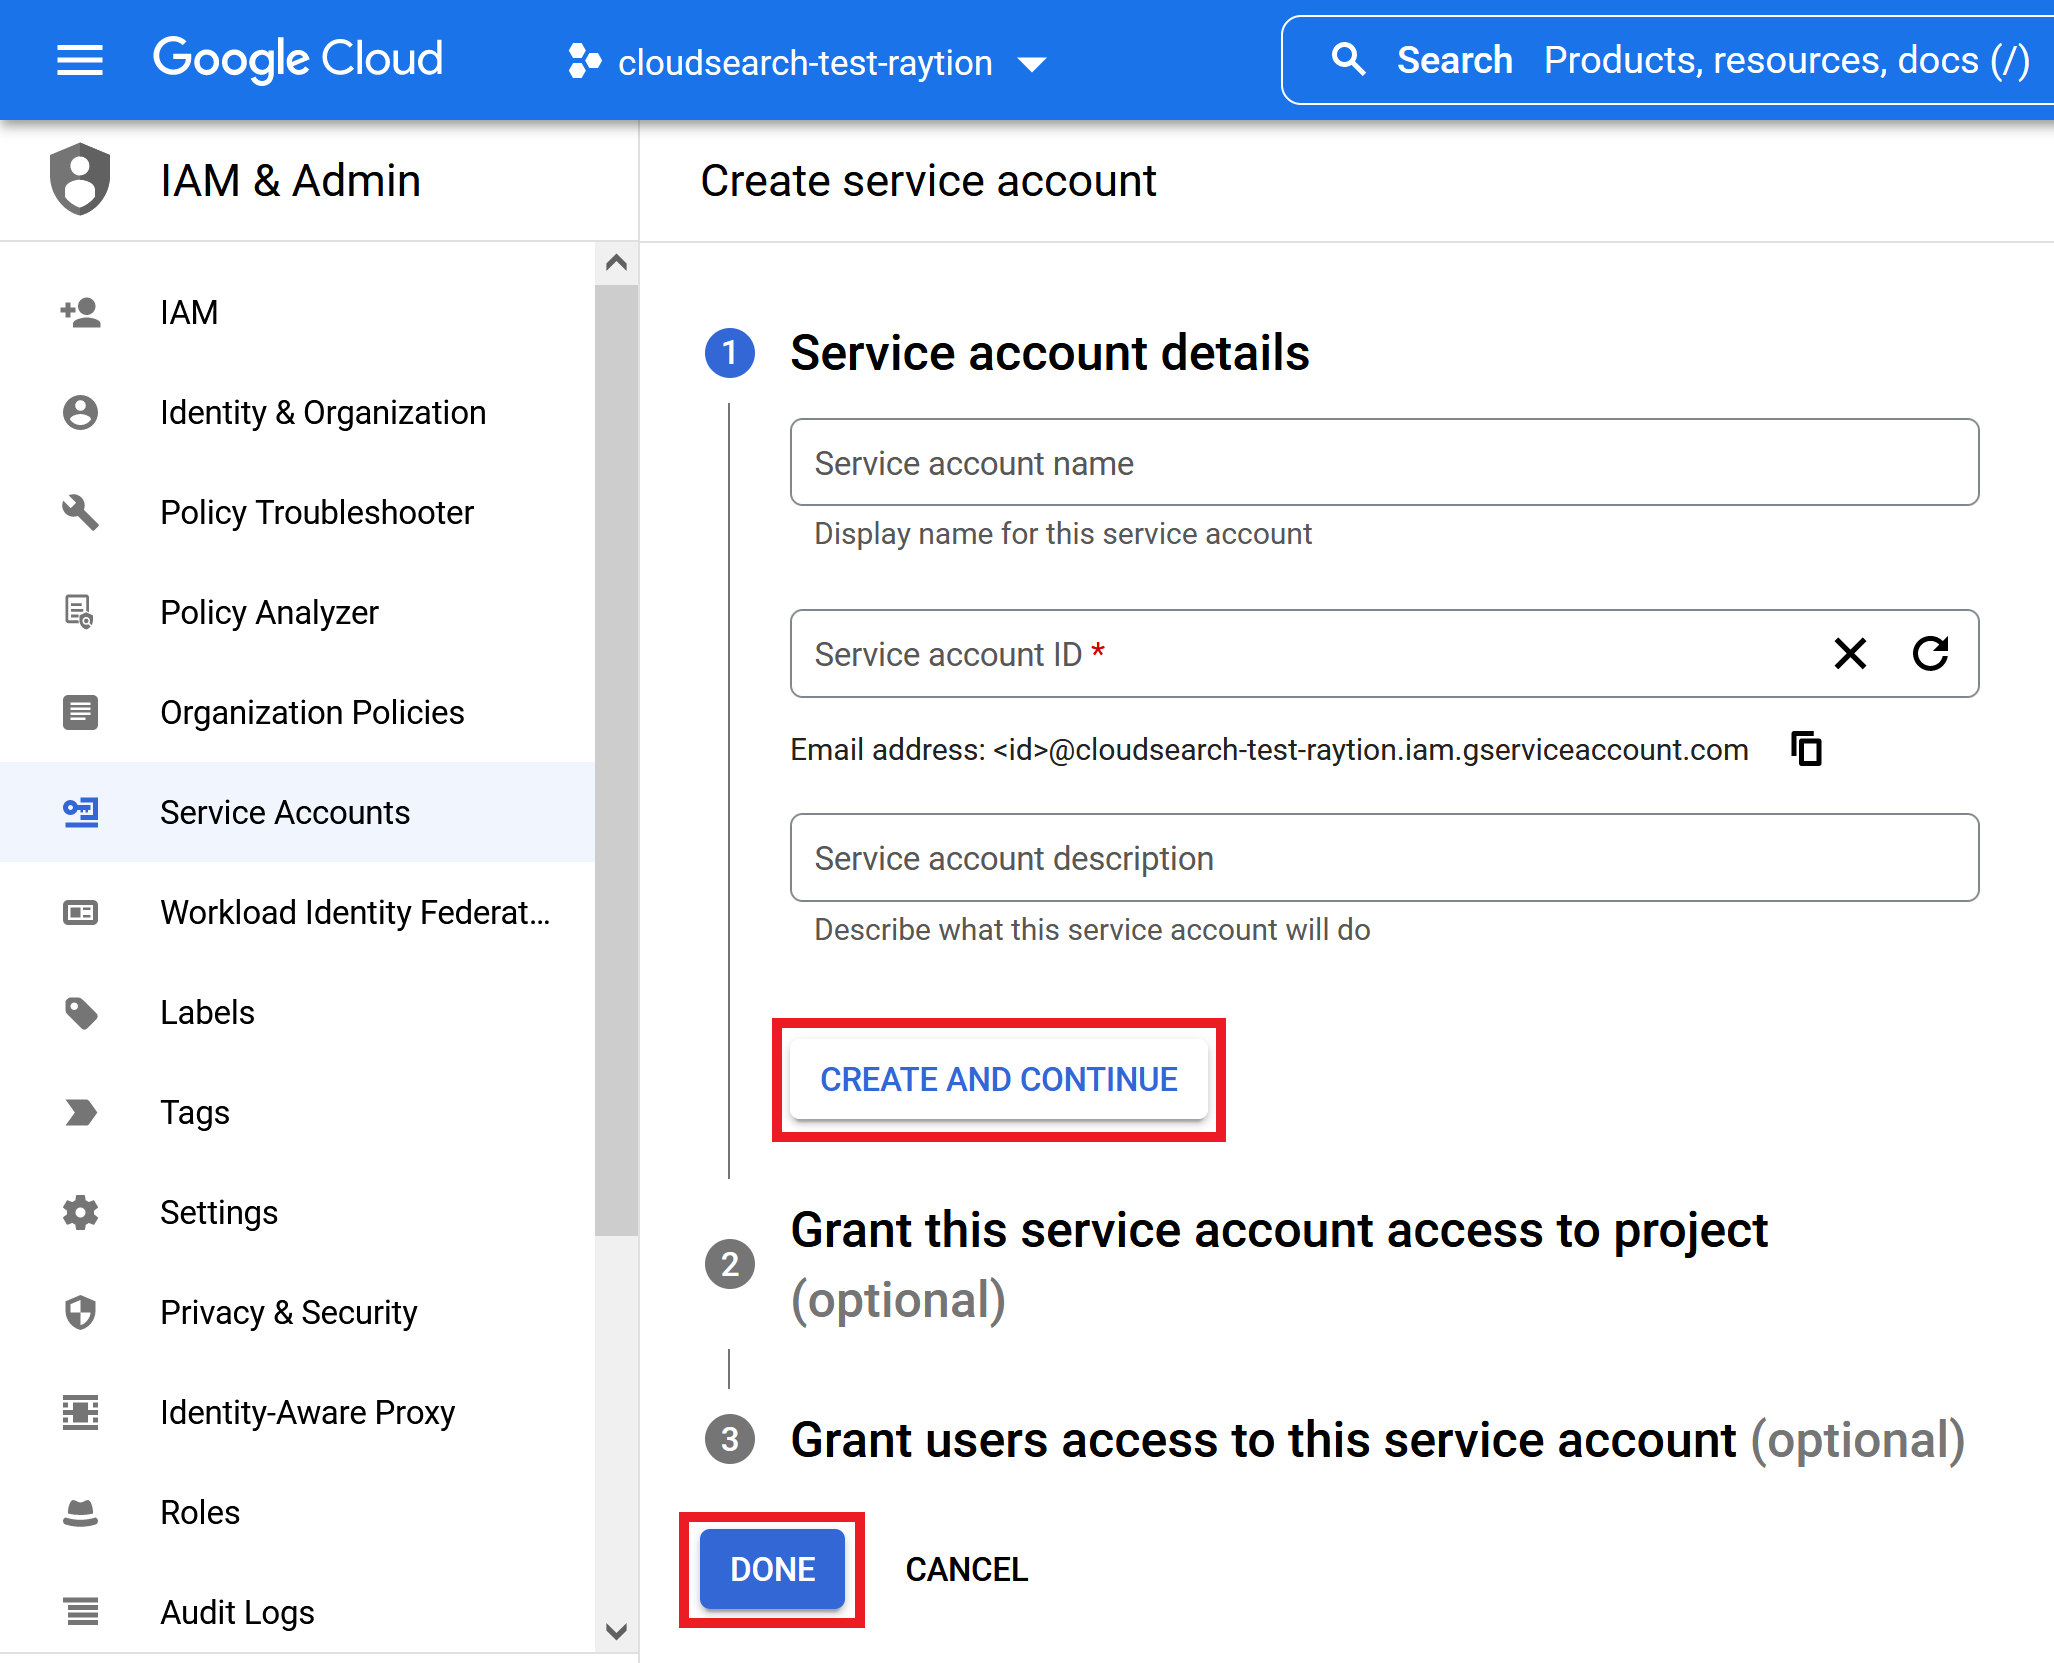
Press CREATE SERVICE ACCOUNT

-
Enter a name and click CREATE AND CONTINUE
-
Skip the optional settings and click DONE
Create and download Service Account Key File
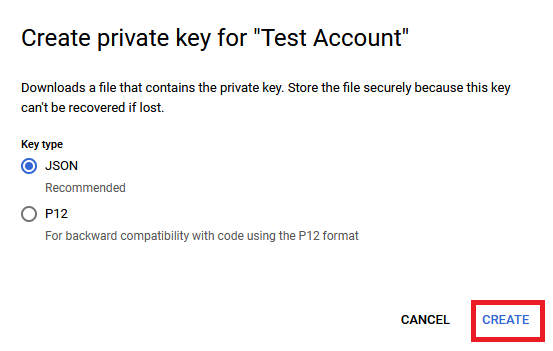
The connector needs a JSON file with the private key of the service account for authentication. This service account file can be generated and downloaded by executing the following steps:
-
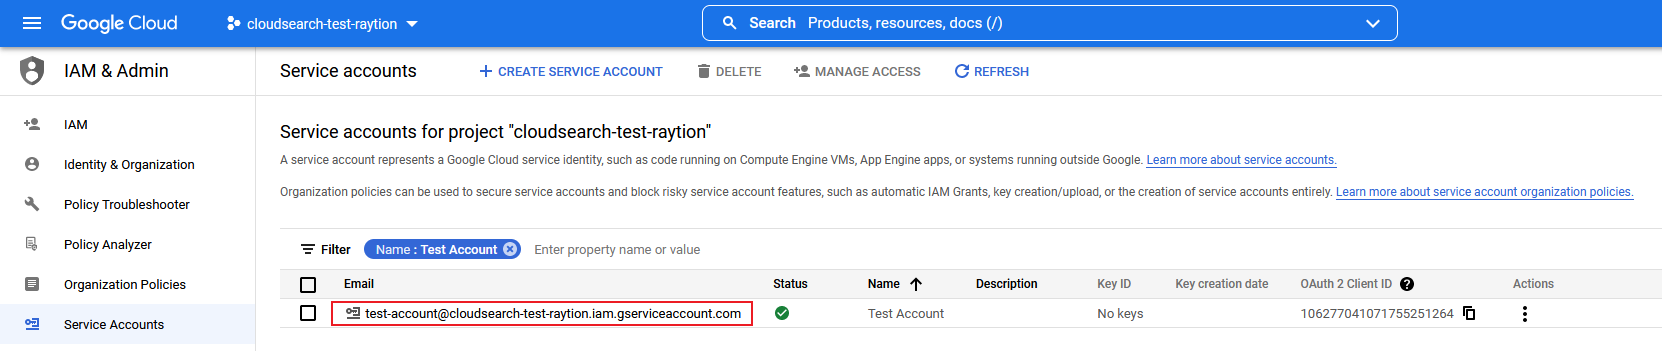
Open the service account details by clicking on the account
-
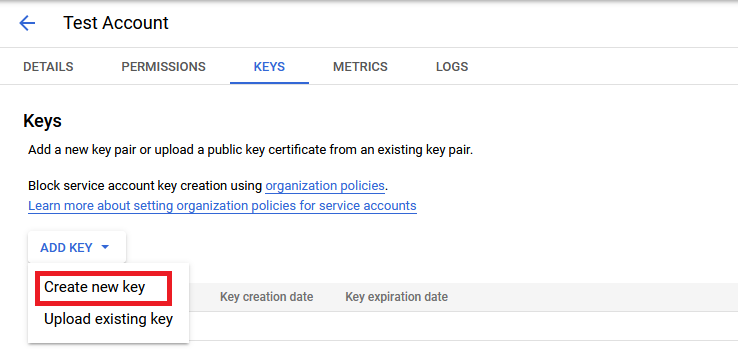
Open the KEYS tab and click on ADD KEY → Create new key
-
Create the service account file by clicking on CREATE and store it under a suitable location
Set up Domain-wide Delegation
Domain-wide delegation has to be activated for a service account. To do so execute the following steps:
-
Make note of the OAuth 2 Client ID of the service account
-
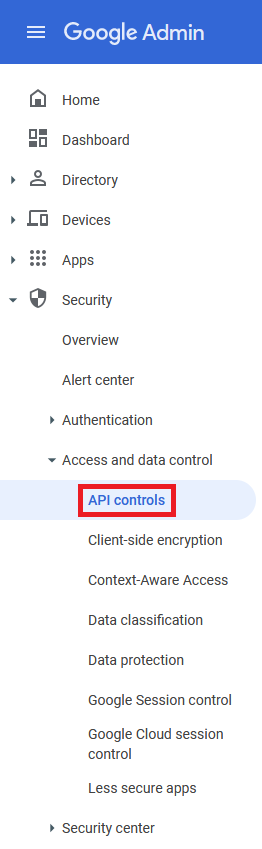
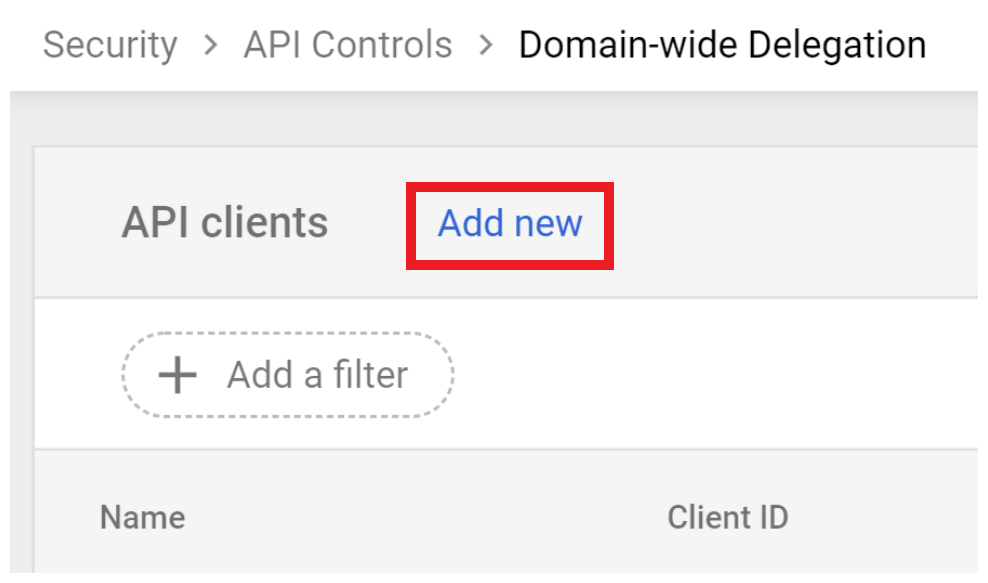
Login to Google Admin with your admin account and navigate to the API controls and click on MANAGE DOMAIN WIDE DELEGATION

-
Click on Add new
-
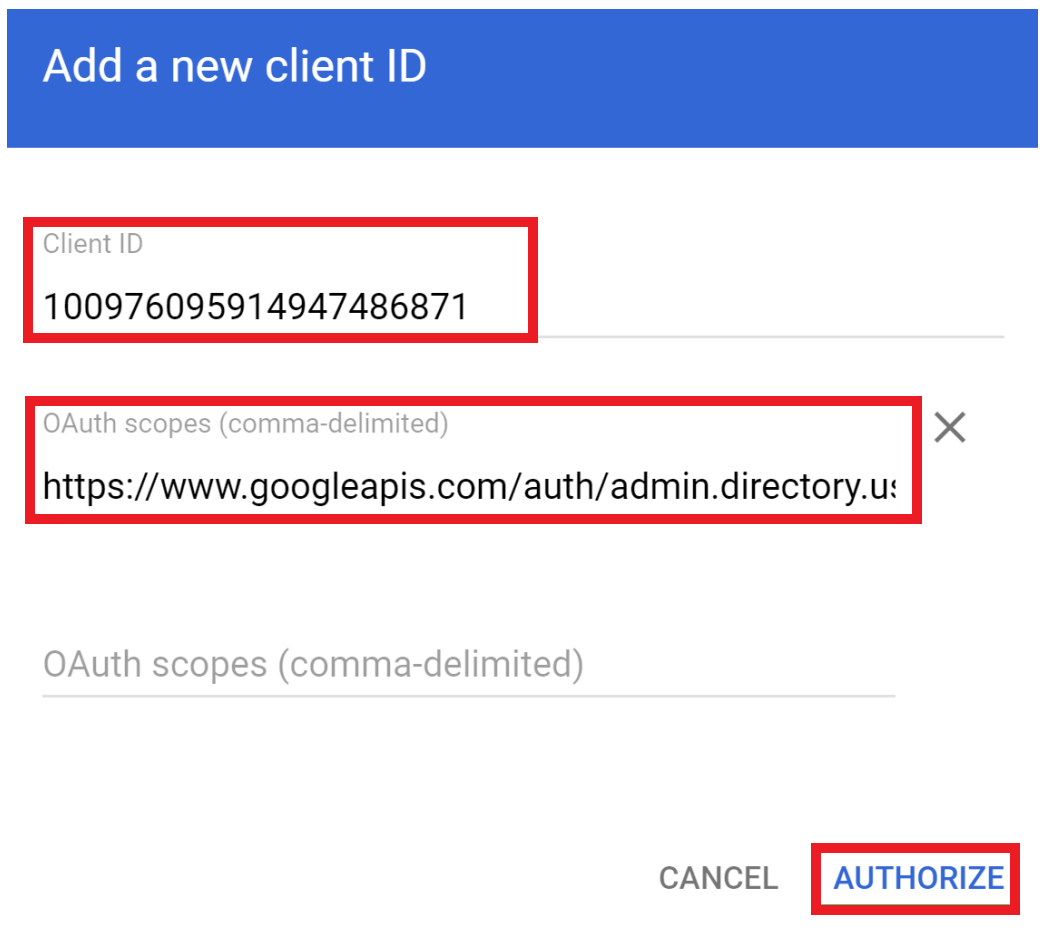
Enter the service account’s OAuth 2 Client ID in the field Client ID and the scopes
-
Click AUTHORIZE